


Introduction
If you’re looking to learn how to draw strawberry step by step, you’ve come to the right place! Drawing a strawberry doesn’t have to be hard or time-consuming if you follow these easy instructions.
In fact, you may find that it’s easier than you think—and even fun! And once you’re done, we can show you how to finish your drawing with some helpful tips. So let’s get started!
Method – 1
Tools Required
To start off our tutorial on how to draw a strawberry step by step we’re going to need some basic supplies. We recommend using a mechanical pencil with an HB lead as well as a kneaded eraser.
Basic Shapes for Strawberry Drawing
Learn how to draw simple basic shapes for strawberry drawing. A strawberry is made up of three basic shapes: circles, ovals and cylinders. Making sure you’re able to draw these shapes properly will make your drawing process much easier. Use them on their own or use them as building blocks for other forms in your strawberry drawings.
Easy Steps for Drawing Strawberries
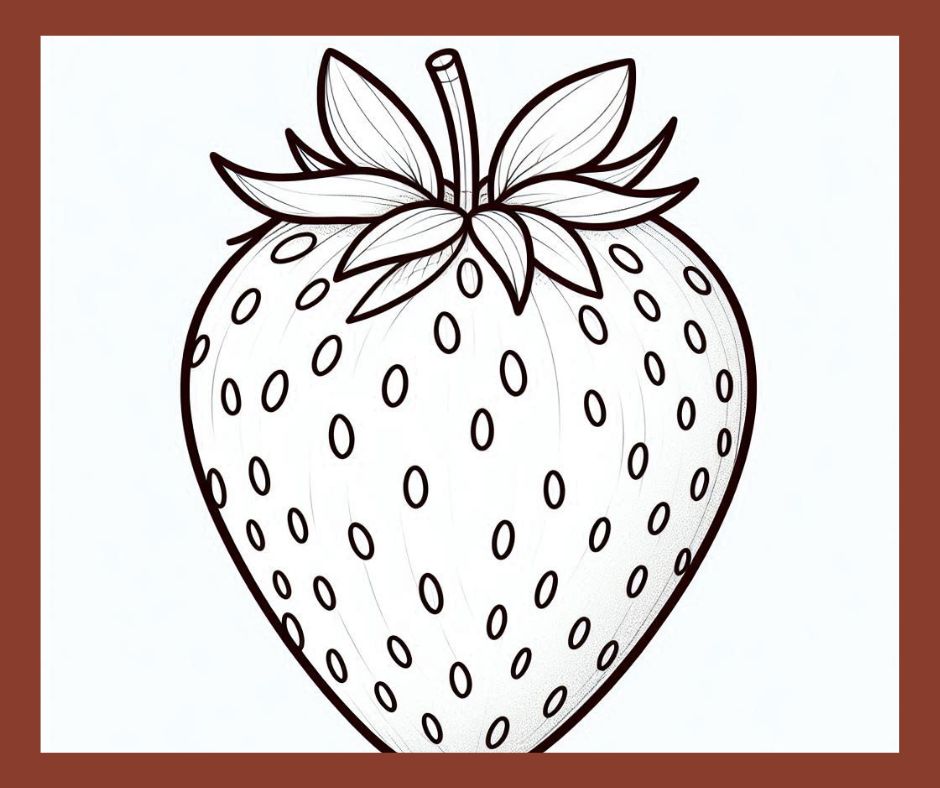
First, draw an oval shape that is slightly narrower at one end than it is at the other end. This will serve as your strawberry’s body/base.
Next, add two small circles on either side of your oval base. These circles will serve as placeholders for where stems will go later on.
Then, add two smaller ovals above each circle. These will serve as placeholders for where leaves will go later on.
Next, connect your ovals by adding curved lines inside them.
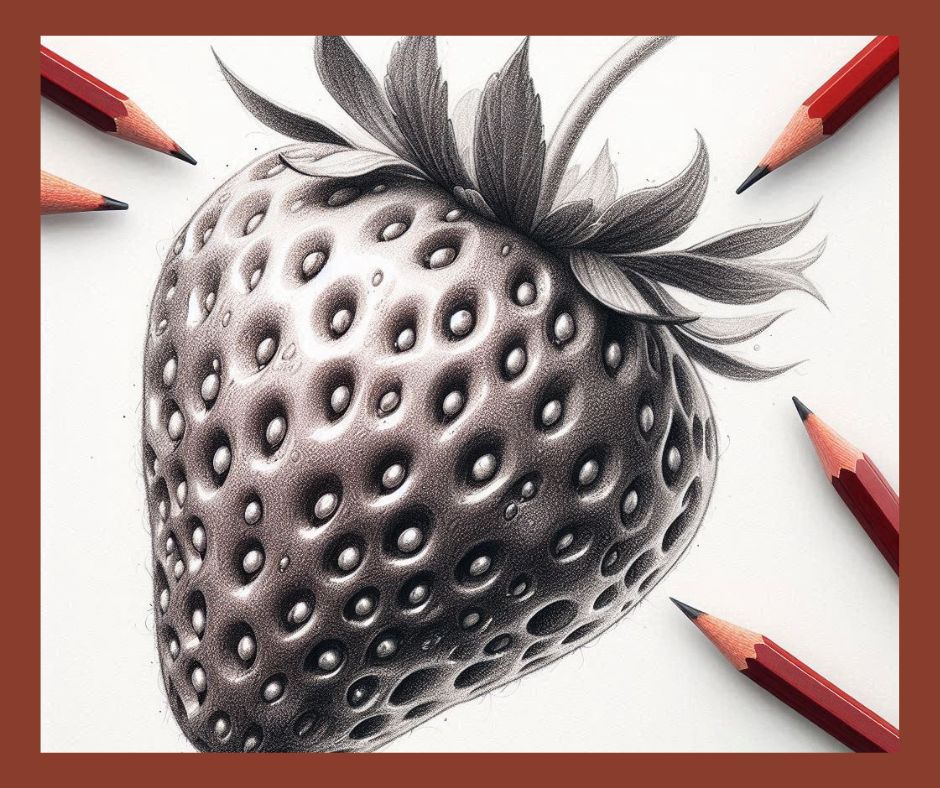
Now that you have all of your basic shapes drawn, let’s give it some color! To start things off, fill in most of your background with a medium brown color. Don’t worry about filling in all of the space; we’ll get to that in next step. Also remember to leave room for white space between each part of your strawberry.
Now we’re going to take care of those remaining blank spaces from step 5 by adding three different shades: dark brown for areas close to our strawberry base; light brown for areas farther away; and white for areas in between.
Easy Steps for Drawing Strawberries
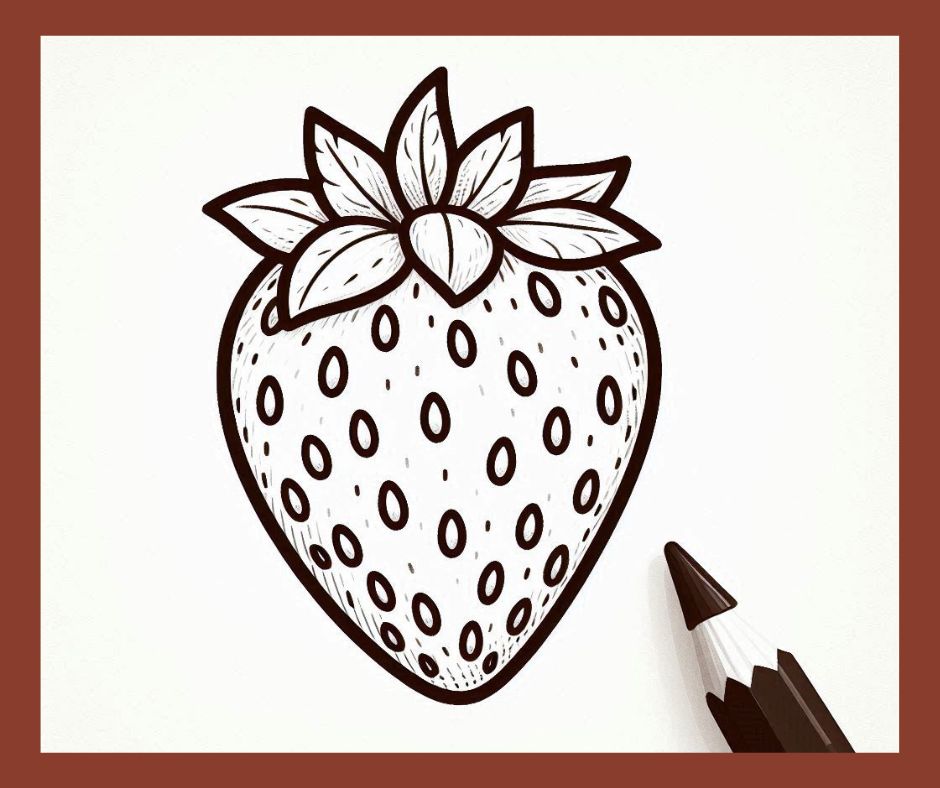
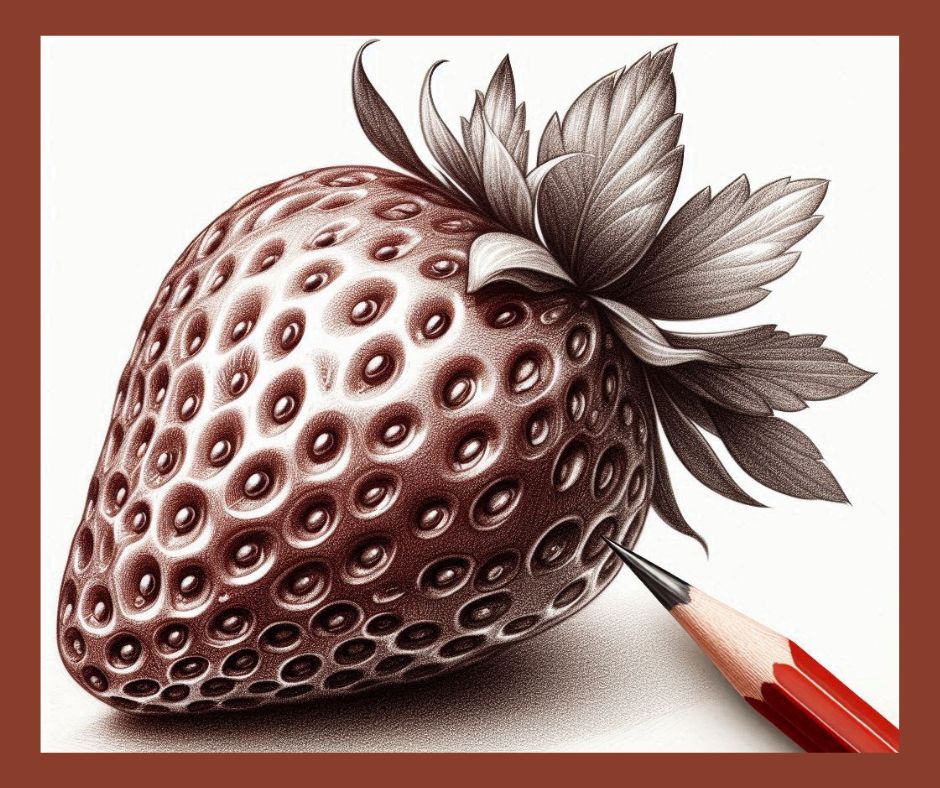
After taking care of your shading, you might notice that parts of your strawberry are too dark or too light. In order to fix that, simply use a darker shade of brown for any parts that are too light and a lighter shade of brown for any parts that are too dark.
With everything looking good so far, let’s move onto drawing our stem. Start by using straight lines to create its foundation.
Once you’ve got its foundation laid down, use curves to make it more realistic
And finally, use diagonal lines to add texture and detail around its edges.
Congratulation! You’ve done your strawberry drawing.
Also Read: Easy Rose Flower Drawing and Sketch
Method – 2

Gathering Your Art Supplies
Before we begin, let’s make sure we have everything we need. Here’s a list of essential tools:
- Mechanical Pencil (HB lead): This allows for smooth lines and easy corrections.
- Kneaded Eraser: This type of eraser picks up graphite gently, preventing smudging and unwanted marks.
- Drawing Paper: Any smooth, white paper will work. However, consider using slightly textured paper for a more natural, “fruit-like” feel.
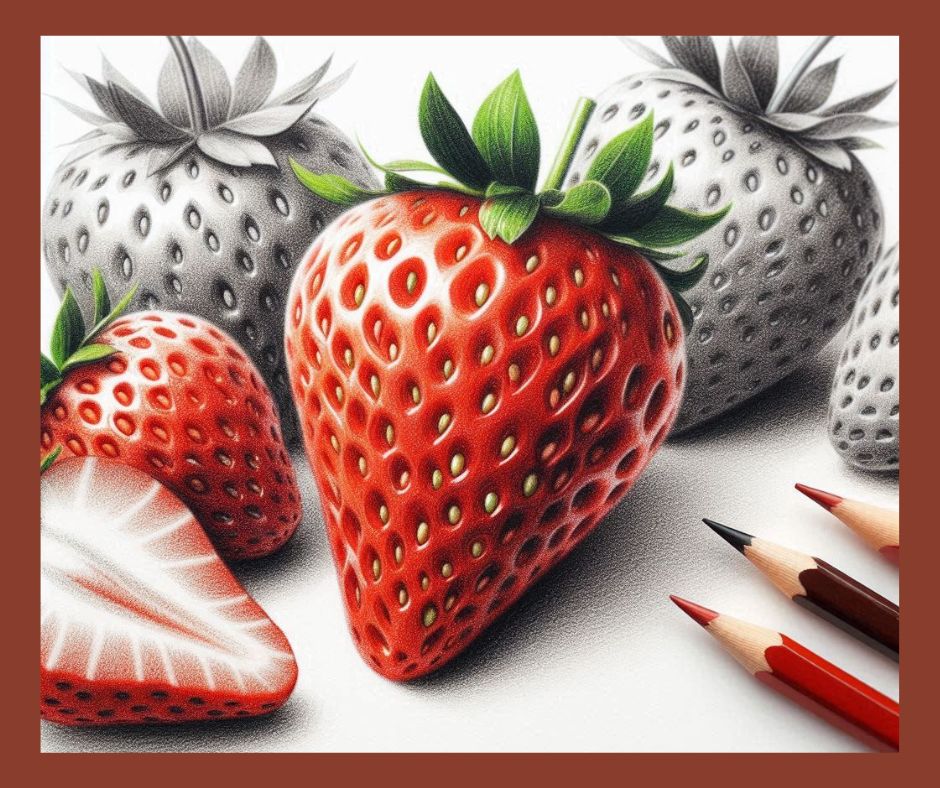
- Colored Pencils (Optional): Breathe life into your strawberry with vibrant reds and greens! Experiment with different shades to create depth and dimension.
Mastering the Basic Shapes
A strawberry’s form can be broken down into three fundamental shapes: circles, ovals, and cylinders. Sharpening your ability to draw these shapes confidently will not only make your strawberry drawing easier but also come in handy for future artistic endeavors!
- Circles: Practice drawing circles of various sizes. These will come in handy for the strawberry’s base and the little seed spots later.
- Ovals: Master drawing ovals with slightly pointed ends. These will form the base of the leaves.
- Cylinders: Imagine the stem as a thin cylinder. Lightly sketch cylinders to get a feel for their rounded, three-dimensional form.
Step-by-Step Strawberry Sketch
Now that you’re comfortable with the basic shapes, let’s bring your strawberry to life!
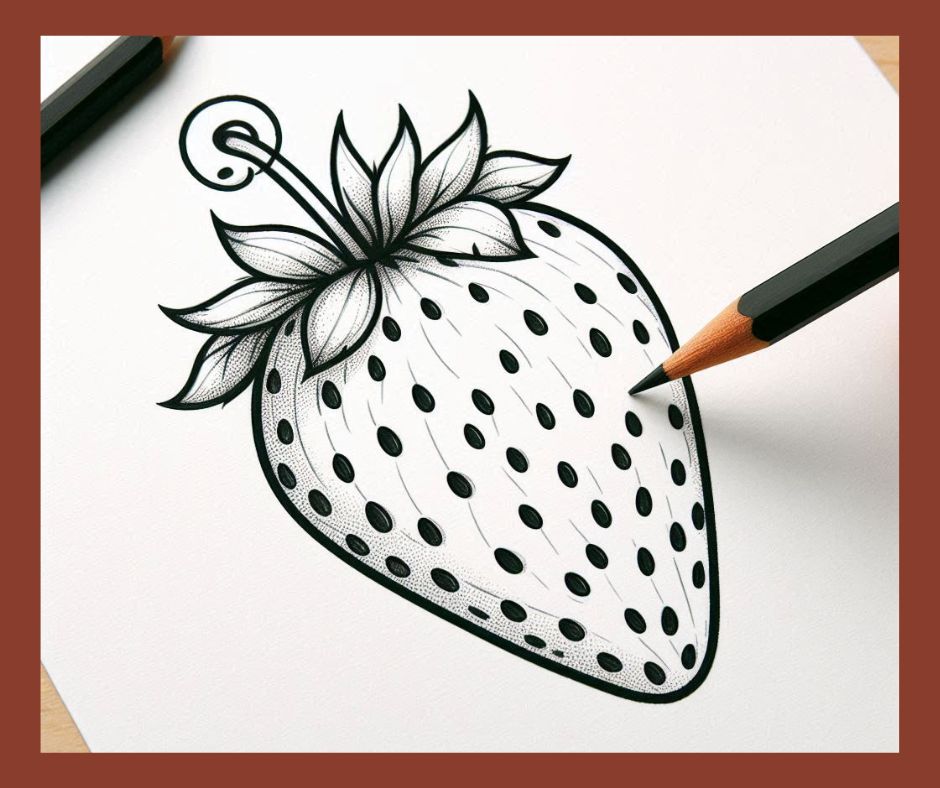
- The Base: Begin by drawing a slightly tilted oval. Remember, one end should be slightly narrower than the other, mimicking the natural shape of a strawberry.
- Leaf Placeholders: On either side of the oval base, add two small circles. These will be the starting points for the future leaves.
- Stem Placeholders: Just above each circle, draw two smaller ovals tilted upwards. Imagine them as the base for the leafy crown of your strawberry.
- Connecting the Shapes: Use smooth, curved lines to connect the top and bottom ovals on each side. This will create the initial leafy outline.
Bringing Depth with Shading
With the basic shapes in place, it’s time to add some depth and realism! Here’s where your artistic eye comes in.
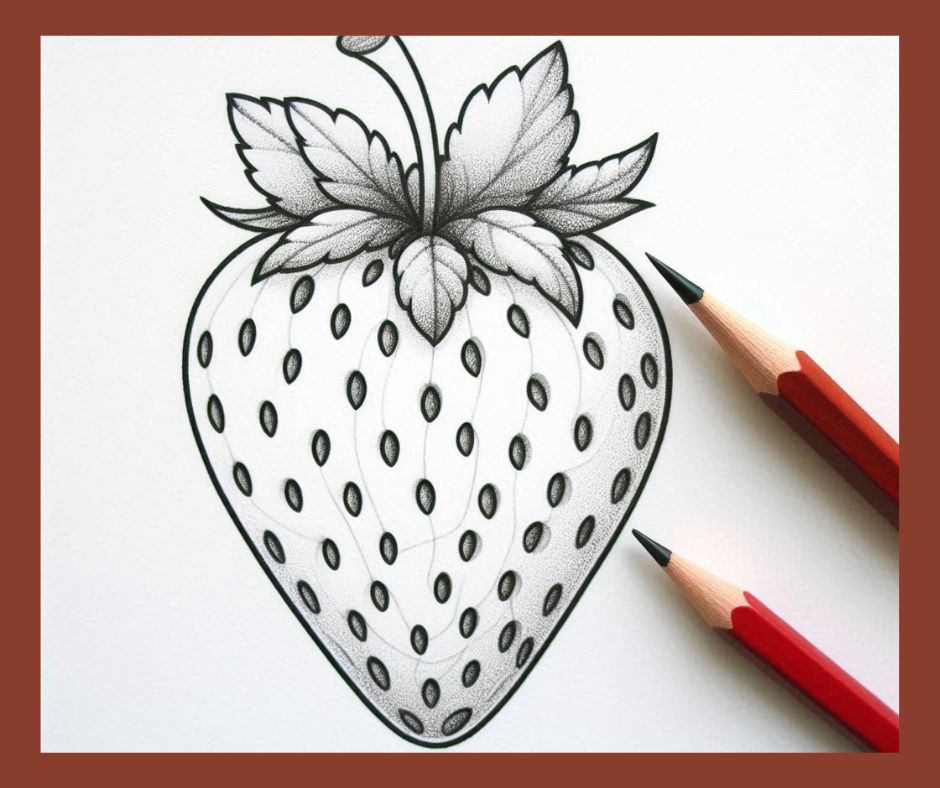
- Background Shading: Using a medium brown colored pencil, gently fill in the background around your strawberry. Leave some white space peeking through to create a natural separation between the strawberry and the “ground.”
- Shading the Strawberry: Now, let’s focus on the strawberry itself. Use three shades of brown: dark brown for areas close to the base (creating shadows), light brown for areas further away (highlighting), and white for areas in between (to separate shapes and add dimension).
Refining Your Strawberry
Take a moment to assess your shading. Are some areas too dark or too light? Here’s how to fine-tune your drawing:
- Balancing the Shading: If necessary, use a darker brown to deepen shadows and a lighter brown to lighten highlights. This creates a more realistic, three-dimensional effect.
Let’s Draw the Stem
The stem adds a final touch of realism to your strawberry. Here’s how to create a convincing one:
- Foundation Lines: Start by drawing light, straight lines to create the basic structure of the stem.
- Adding Curves: Refine the straight lines with gentle curves to give the stem a more natural, organic look.
- Texture and Detail: Using diagonal lines along the edges of the stem, add subtle texture and details. Imagine these lines representing tiny ridges or imperfections on the stem’s surface.
Beyond Paper: Exploring Different Artistic Techniques
While drawing with pencils on paper is a classic approach, there’s a whole world of artistic mediums waiting to be explored! Here are some ideas to bring your strawberry drawing skills to new platforms:
- Digital Drawing: Embrace the world of digital art tablets and programs like Procreate or Adobe Illustrator. Experiment with vibrant colors, textures, and lighting effects to create a truly unique digital strawberry.
- Painting with Watercolors: Watercolors offer a beautiful, fluid way to express your creativity. Use light washes of red and pink to capture the delicate translucency of a ripe strawberry.
- Acrylic or Oil Painting: For a more opaque and detailed approach, try acrylic or oil paints. Layer different shades of red to create depth and texture, and don’t forget to add a touch of white for those tiny seed details.
- Fabric Painting: Feeling crafty? Why not transform a plain tote bag or t-shirt into a vibrant strawberry masterpiece? Fabric paints offer a fun way to wear your art or create personalized gifts.
- Clay Sculpting: Take your strawberry creation into the third dimension! Use air-dry clay or modeling clay to sculpt a realistic or whimsical strawberry.
From Still Life to Storytelling: Using Your Strawberry in Art Projects
The beauty of a well-drawn strawberry lies in its versatility. Here are some ways to incorporate your strawberry drawing into larger art projects:
- Food Illustration: Strawberries are a popular ingredient in many desserts. Create a mouthwatering illustration featuring a strawberry shortcake, a decadent chocolate cake adorned with fresh strawberries, or a refreshing summer smoothie.
- Botanical Illustration: Approach your strawberry drawing with a scientific eye. Focus on accurate details and realistic shading to create a beautiful and informative botanical illustration.
- Pattern Design: Repeat your strawberry motif to create a charming pattern. This pattern could be used for designing fabric, wrapping paper, or even greeting cards.
- Storytelling Through Art: Let your strawberry be a part of a bigger story. Draw a scene of a child picking strawberries in a field, a family enjoying a picnic with a basket full of strawberries, or a playful scene of a ladybug crawling on a strawberry.
By venturing beyond a simple sketch, you can transform your strawberry drawing into a unique piece of art that reflects your creativity and personality. So, grab your favorite art supplies and keep exploring the world of artistic possibilities!
Also Read: Coffee Cup: How to Draw a Coffee Cup Step by Step