
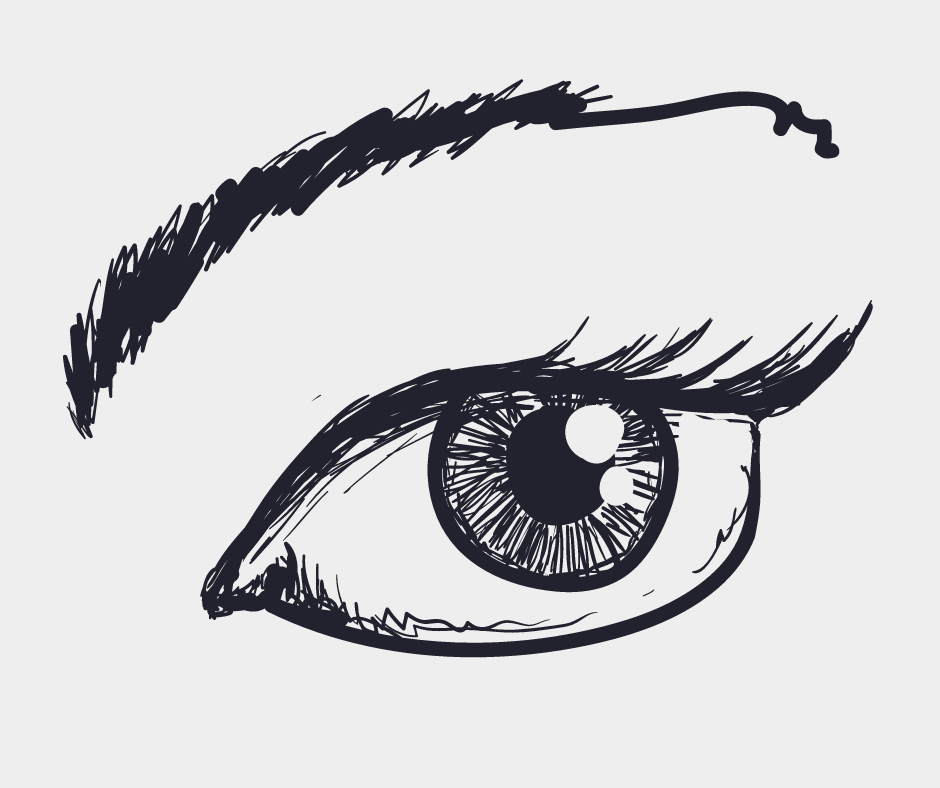
How to Draw Human Eyes with Pencil
I am using my set of pencils for Human Eye Drawing, but I’m not going to use all of them. I’ll take two H and two B. I love using black pencils in my drawings because graphite pencils are Gray. Even the softest ones. For example, you can replace black pencils with soft graphite pencils from five to twelve B. I’m also going to use brushes for blending.
I will use a synthetic makeup brush to wear makeup because makeup brushes are tightly packed and perfect for blending. At least, I think, a soft tissue acute tip or a piece of cloth will also do.
I’m also going to use an eraser, and an edible one is very comfy because you can shape it the way you want and have one more shaped as a pencil, called perfection 756 by Fabric Estelle. This eraser is also cool because it allows you to erase really thin lines.
I want to underline that it’s excellent if you use only one pencil and a regular eraser, you will still be able to draw a realistic eye.
When drawing eyes, you should start with drawing a circle. I just know that some of you will have problems with drawing a circle, but if you try a couple of times, you will be able to draw a circle quickly.
Now draw a circle. This circle is the eye wall. I always start drawing using a hard pencil. In my case, it’s tough, and when I get into shading later, I will use softer pencils to create depth and realism.
Be sure not to press too hard on your pencil. Have patience, and you will be rewarded.
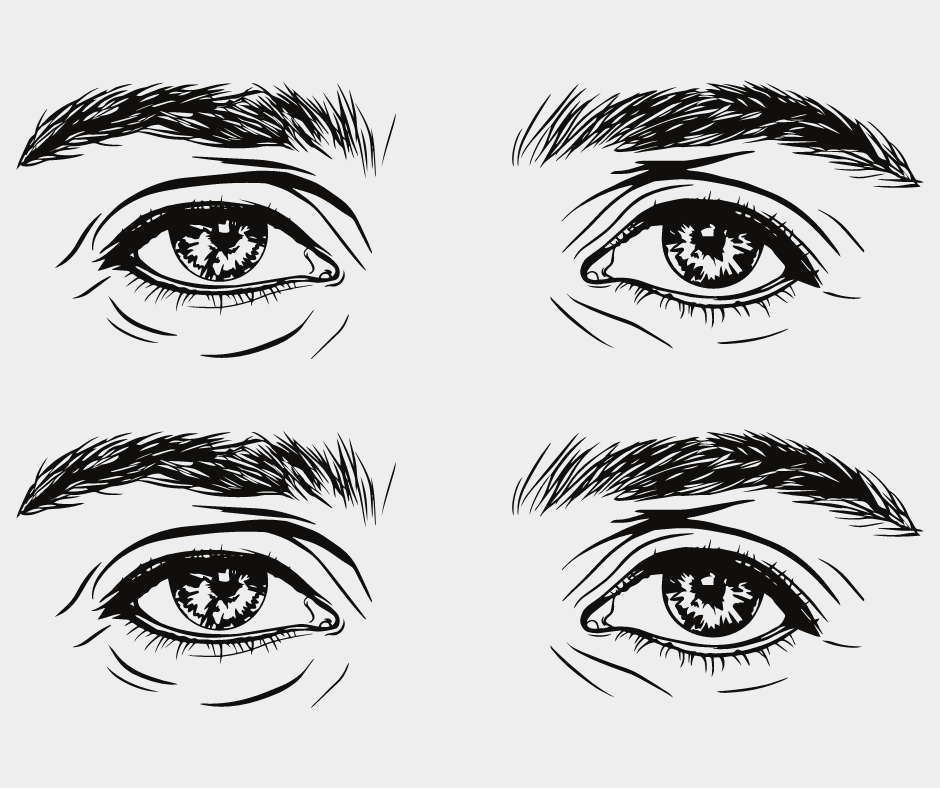
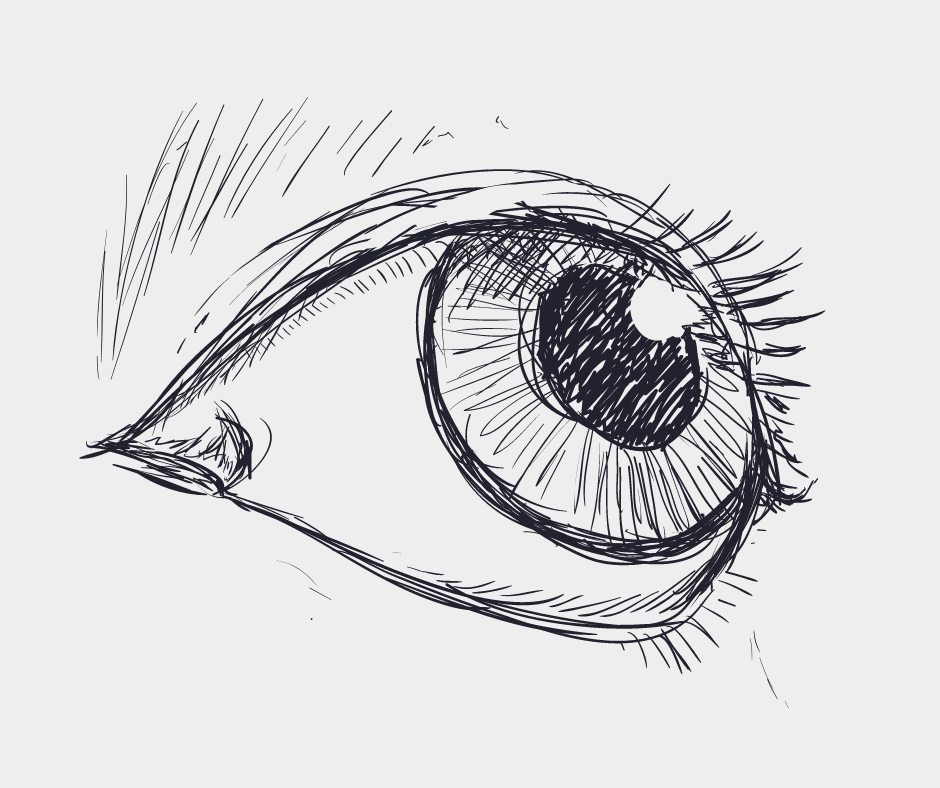
Right in the middle of the eyeball, I’m drawing an iris. It’s twice as small and then goes a pupil; the size of the pupil changes depending on the light is significant in the dark and small in the light. I’m drawing the size I prefer.
After this, I’m going to form the shape of the eye and draw the eyelids. So obviously, the length of our eye depends on the length of the first circle, which is the eyeball, as we already know. So the inner corner is a little lower than the outer corner.
To draw the lids, we need to connect both corners. Notice that the lid covers the top of the iris. The bottom lid is shallower than the apple lid.
The last step in shaping the outlines of my sketch is to draw the upper and lower lash lines and an upper crease.
It’s OK if the crease doesn’t follow the lid form.
The lower lash line disappears into the tear duct. As the last step, I’m not going to draw the eyelashes now because it’s a lot better to draw lashes after the shading part is completed.
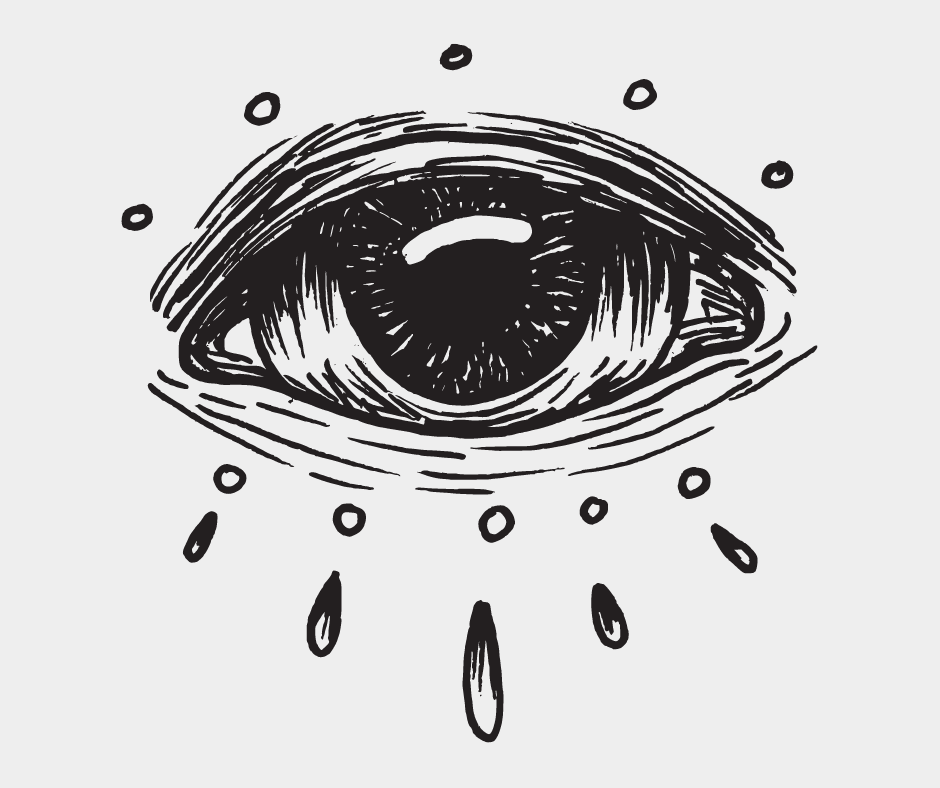
I’m also going to draw a reflection like this. By looking at the reflection, we can say where the light source is. Reflections can be drawn in a lot of different shapes. It depends on the light source. You can even give it the shape of a heart; why not?
So this is how my sketch looks so far. It’s essential to have patience when drawing anything as it will not turn out well when you force this draing, but that also applies to the next steps where we’re going to texture and shape the eye to make it look realistic.
I’m starting to fill in the pupil using a black pencil and then the iris.
The iris is such a beautiful and unique thing. No wonder they say the eye is the window to the soul. It’s such a personal and unique thing. If you do an excellent iris, you have almost already done a fantastic, realistic eye. I’m using a two H pencil.
There are so many details inside, and drawing all of them can be challenging. I’m filling the entire iris first and blending the pencil with a brush to get a very smooth and even surface.
I’m giving more darkness to the ring of the iris, even if the eye has a very dark natural color. The iris ring is darker. Anyways, I’m using a two B pencil here.
Even though we haven’t drawn the lashes yet, we have to think about them because they cast a shadow onto the apple lid. It means that the area running under the upper lid will be a little darker. That includes the iris tomb.
And now, the most challenging and exciting thing is to give the iris some structure. I love this part, so let’s finally do it.
I’m adding some lines coming out of the pupil, which can be straight and curved. As I said, the texture of the iris is exceptional, but I would call it a little torn. You know. So think of creating this torn texture with holes, layers, different colors, etc.
It’s precisely the details I want to add to the iris. By the way, I’m using a two B and a black pencil here.
I’m taking the eraser and pulling out the pencil to give my iris light and beautiful lines.
So now, when the most challenging part of the drawing is done, let’s finish the inner part of the eye, which is a tear duct and the white of the eye. Remember what I said about the eyelashes and the area under the apple lid? It’s darker because the lashes block the light.
So I’m just taking my brush because it has some graphite leftovers and shading the entire area, making it darker on top and in the outer corner. I’m also using a two H pencil here, which I blend.
I’m filling in the tear duct using a two H pencil and blending it and blending it, and I’m pulling out the highlights in the middle of it, so that’s it for now.
Using a two H Pencil, I’m filling in the applet and blending it afterward. One blending, you have to follow the direction of your strokes, and I’m adding darker shadows along the crease.
Using a two B pencil, notice that the shadows don’t have any hard edges. On the contrary, they’re pretty smooth. You can achieve this result by taking your time and making steady strokes close to each other.
I’m doing the same with the law LED, except the area right under the lash line is also darker. This will make the eye look more three-dimensional and therefore realistic. Some people also have a crease under the bottom lid, but this crease isn’t as apparent as a decrease above the applet. It depends on how the lid wraps around the eye.
I’m blending the pencil as much as needed because I want the skin to look as smooth and realistic as possible, but there is a fine line between making it too smooth and just smooth enough because the skin has some kind of texture and some pencils shokes can imitate it too.
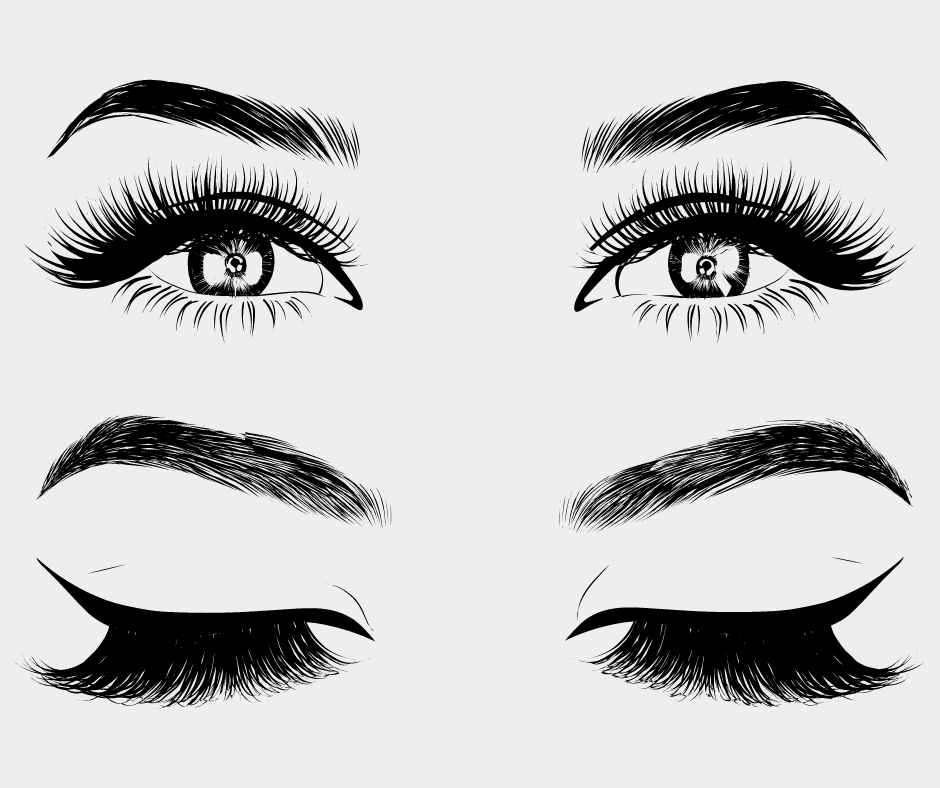
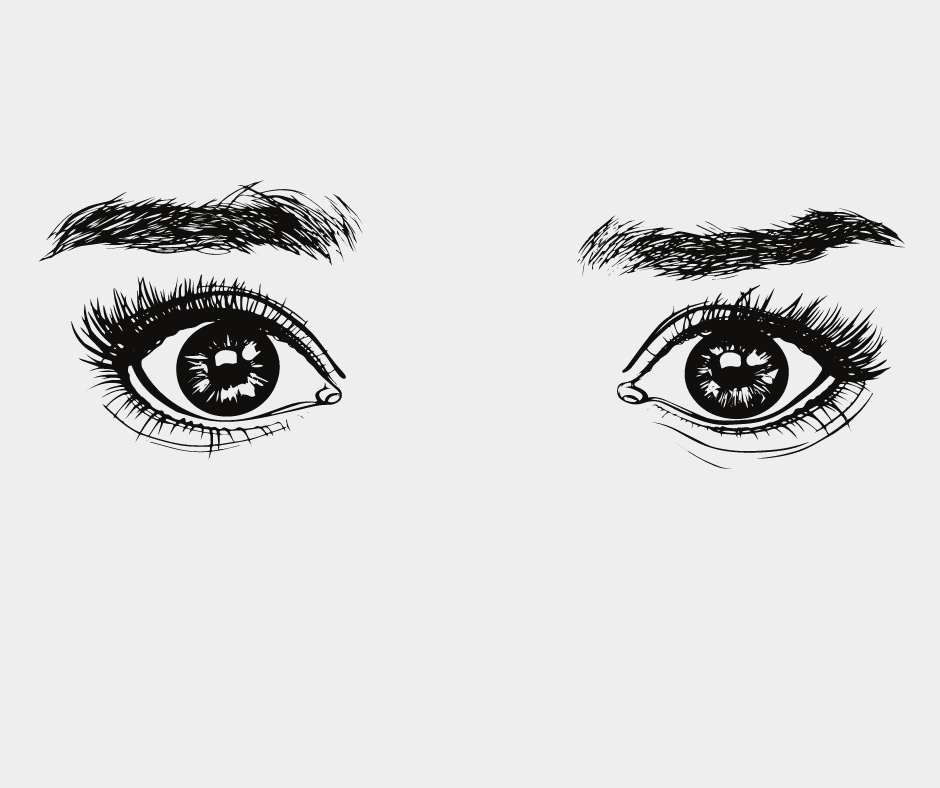
It’s time to draw the lashes. Now to finish this eye, some people do really well until they get to this part. But don’t worry; first of all, I have a really excellent, simple, and detailed tutorial on how to draw perfect lashes.
Eyelashes are not straight at all. They’re curved. Since the eyelid wraps around a curved object. For the eyeball, you need to draw the lashes at different angles like this. Be sure to keep your pencil sharp.
Some of the lashes also overlap each other. Observe what I’m doing here and try to practice on a line outside the eye. If you feel insecure about drawing lashes straight away. Also, you mustn’t draw the lashes too short.
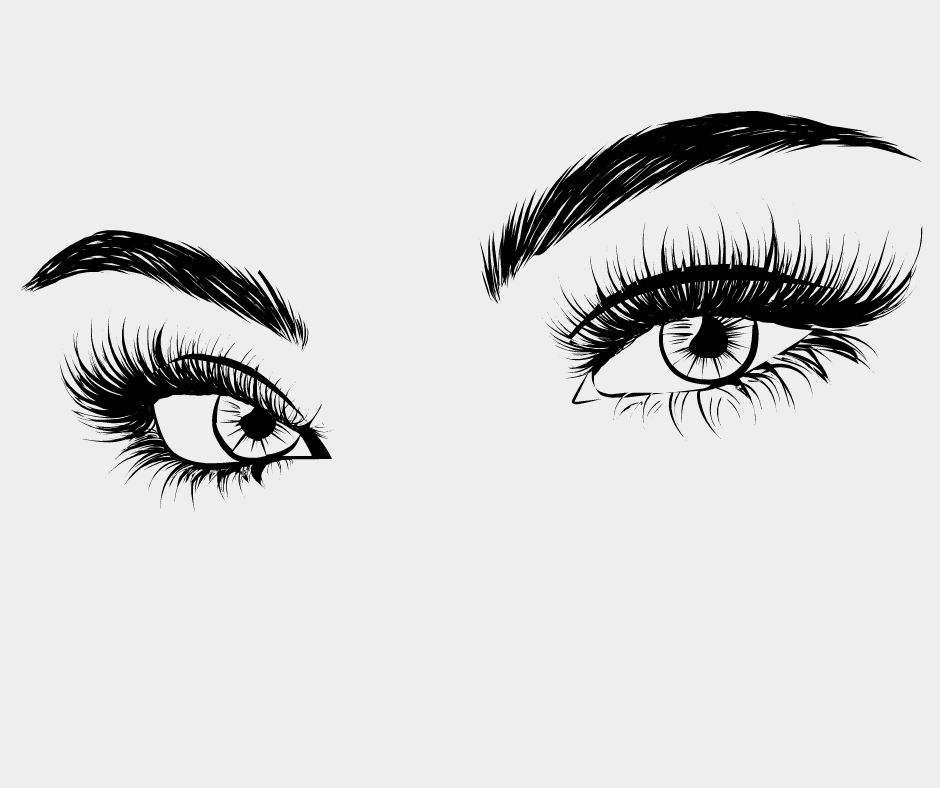
I notice that some artists make them short, which doesn’t look as good as it could have been. You know, I think you should go and take a look in the mirror to see how long your lashes actually are or maybe find a person nearby and get up to their face to observe the leash length.
And the last important thing about the eyelashes is that they don’t grow in a straight row. They grow in several rows, like sharks’ teeth, for example. It’s like three or sometimes even four rows. Our lashes are really pointy, so I’m using a sharp black pencil. Basically the darkest pencil I have. And in the end, you can add some amazing lashes that grow massively.
We’re almost there. The last step is taking a little break and returning to your drawing with a new head. By doing this, you will be able to see the flaws you couldn’t see before. For example, I think the lash line needs more highlights. You can also do it.
Using a broad gel pen, for example, can make a huge difference giving the drawing that realistic wetness. Right now, I don’t have a white gel pen, but I would definitely use it if I did. So this is the end of my article. Thank you so much for reading till the end.