


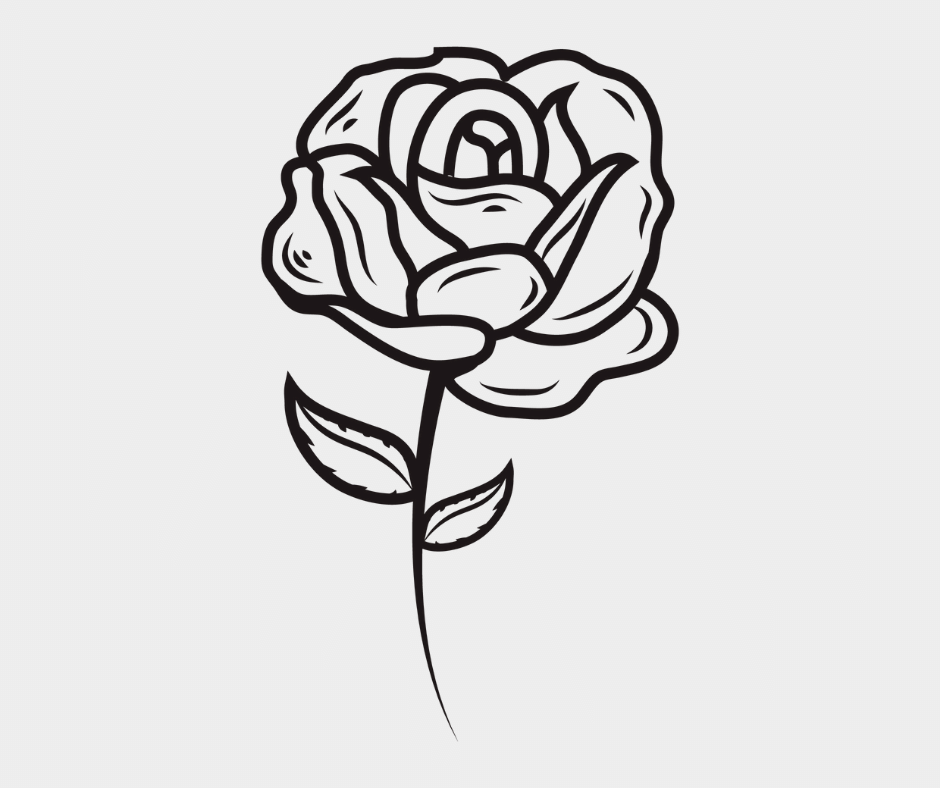
Easy rose flower drawing is a fun and easy way to spend some time and practice your skills. There are many different ways to approach this project, and you can get as creative as you like.
Start by sketching out a basic outline of the rose with a pencil. Try to capture the basic shape of the flower, including the petals and the stem. Once you have a rough idea of the shape, start filling in the details with a brush.
Use light and easy strokes to create the highlights on the petals and the stamen. Be sure to vary your brushstrokes to create a realistic look. Once you’re happy with the look of the flower, start adding some color. Use a light touch to avoid making the flower too bright.


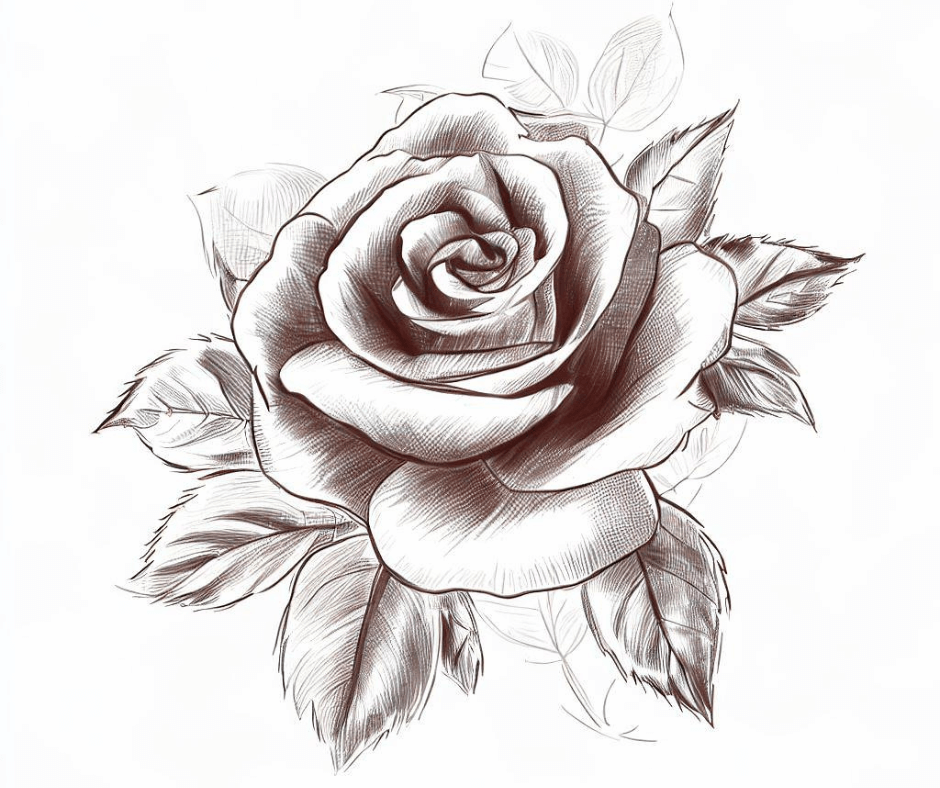
Rose Drawing Step-by-Step Guide in Simple 9 Steps
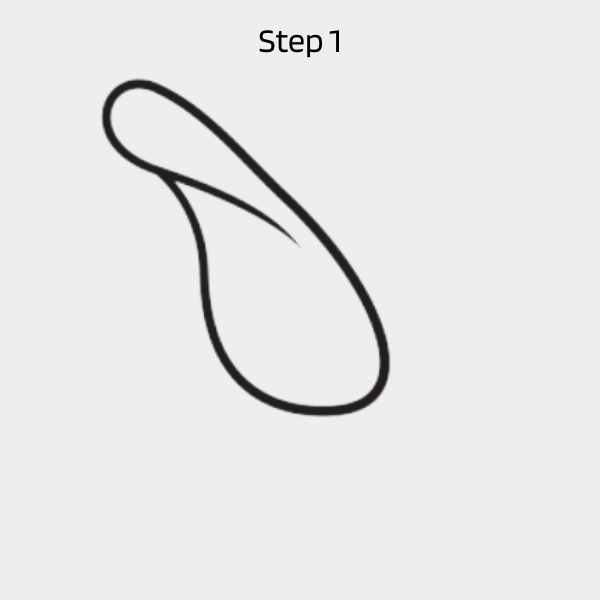
1st Step: Draw an irregular figure consisting of curved lines in the upper left corner of your paper.
2nd Step: We will now simply repeat the steps from the previous step. Create a smaller figure for each petal than the one we created previously.

You don’t have to worry if your petals aren’t exactly the same! You don’t have to be perfect! The petals can be more realistic if they are more varied.
3rd Step: This time we will draw the inner petal.
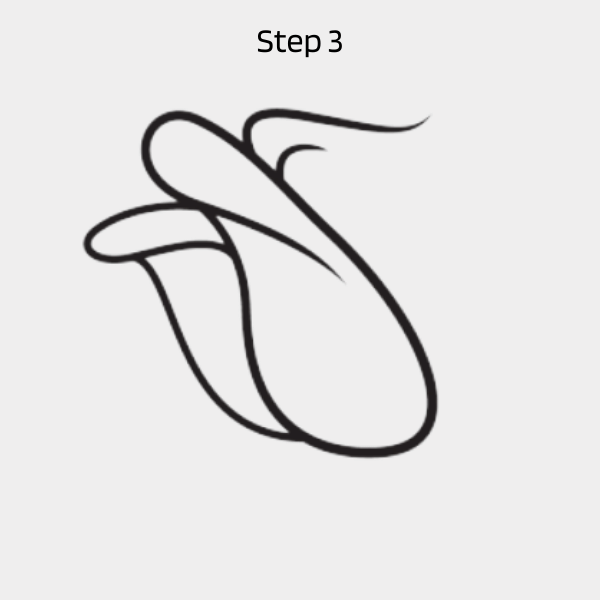
As shown in the illustration, draw curved figures to illustrate this.
4th Step: We will be drawing the inner and outer petals. This step is similar to the combination of previous steps.
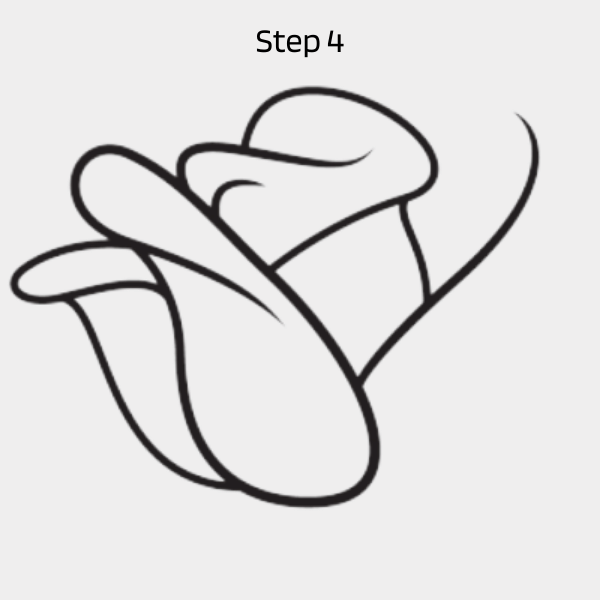
To complete the inner and part of the outer petals, draw curved lines.
5th Step: This time we will finish the section of the massive outer petal.
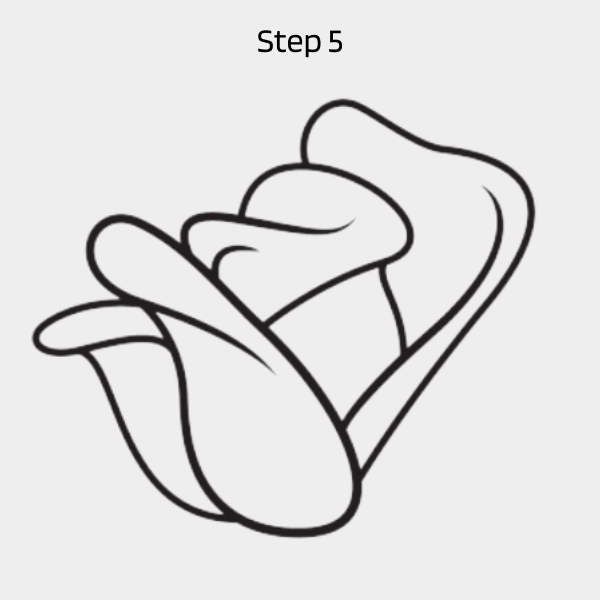
To represent this, draw curved lines just like the illustration.
06th Step: To complete the “wraparound look” of the petal we will draw another petal. This petal is located at its back so only the top would be visible.

Simply draw a straight line to create the top edges of this petal.
7th Step: Draw another curving figure on the right side of the rose to create the last petal.
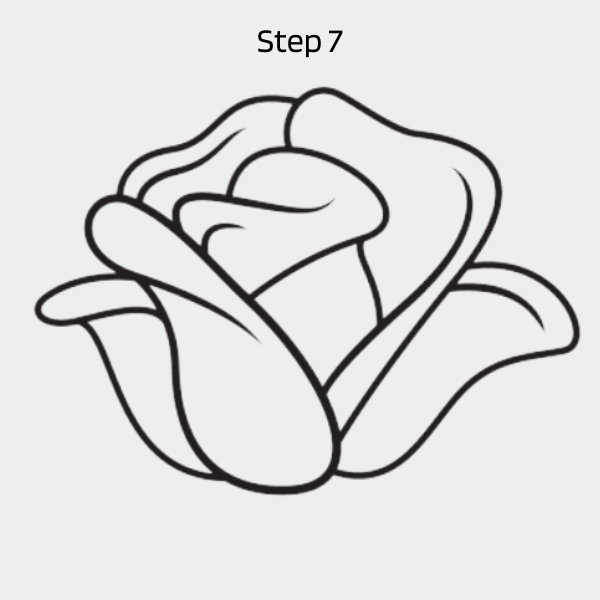
This petal is on the outer side of the rose and should be more bent and curled than the other petals.
8th Step: We can now see that the roses are slowly coming together!
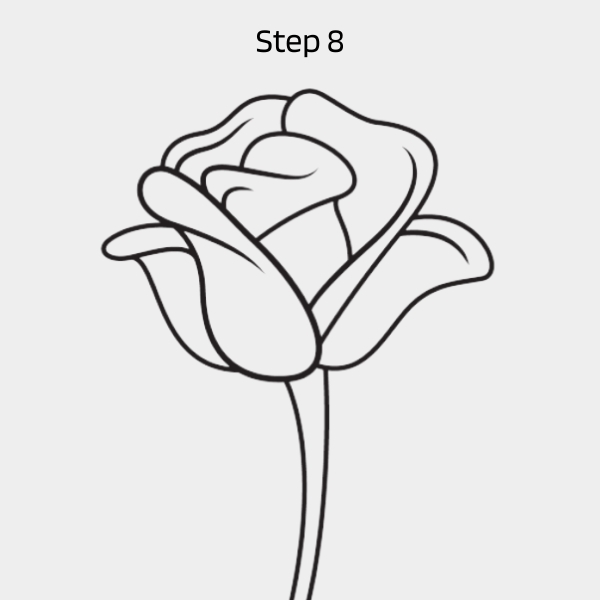
This step will add the stem to the rose. Draw two parallel, curved lines underneath the rose.
9th Step: In this step, you will add a single leaf to the right side of the stem of your rose.
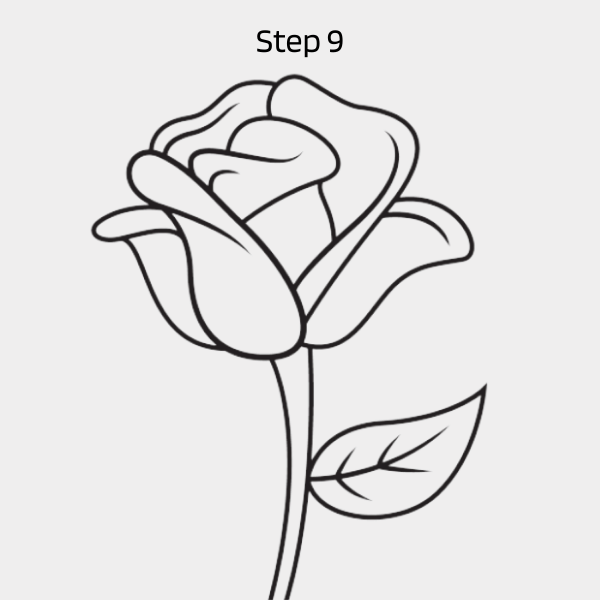
Draw an irregular shape on one side of the leaf. On the other side, draw a pointed tip. This creates a single leaf.
Draw a slight curve along the length of your leaf. This will create the middle line for the leaf’s pattern.
To create unique patterns within the leaf, draw multiple diagonal lines connecting to the middle line.

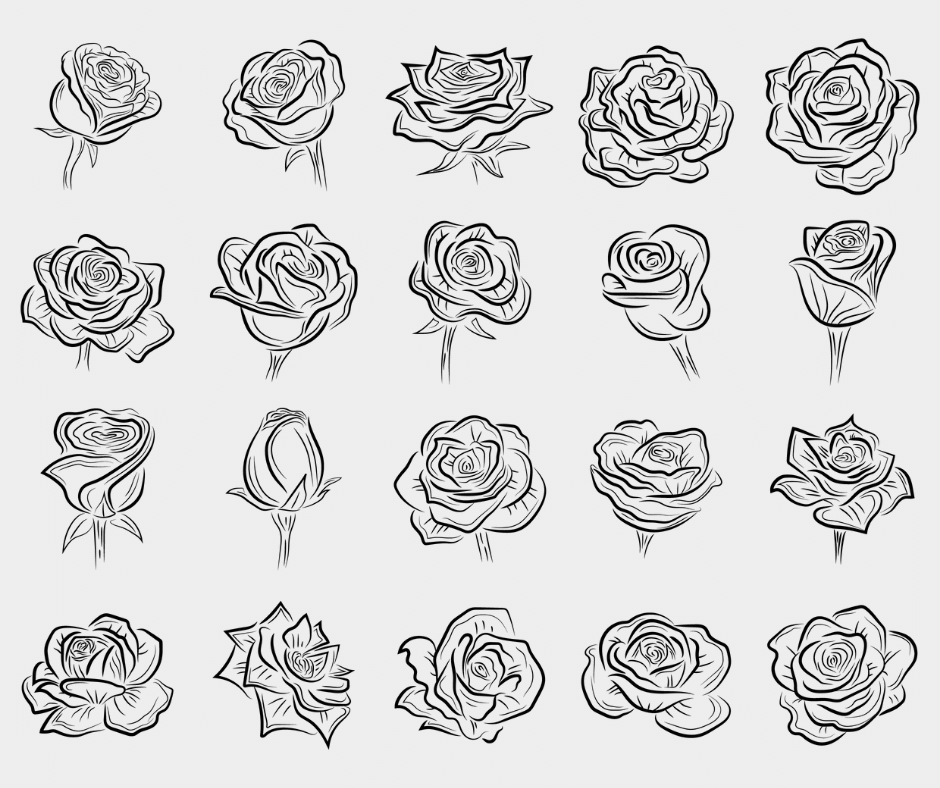
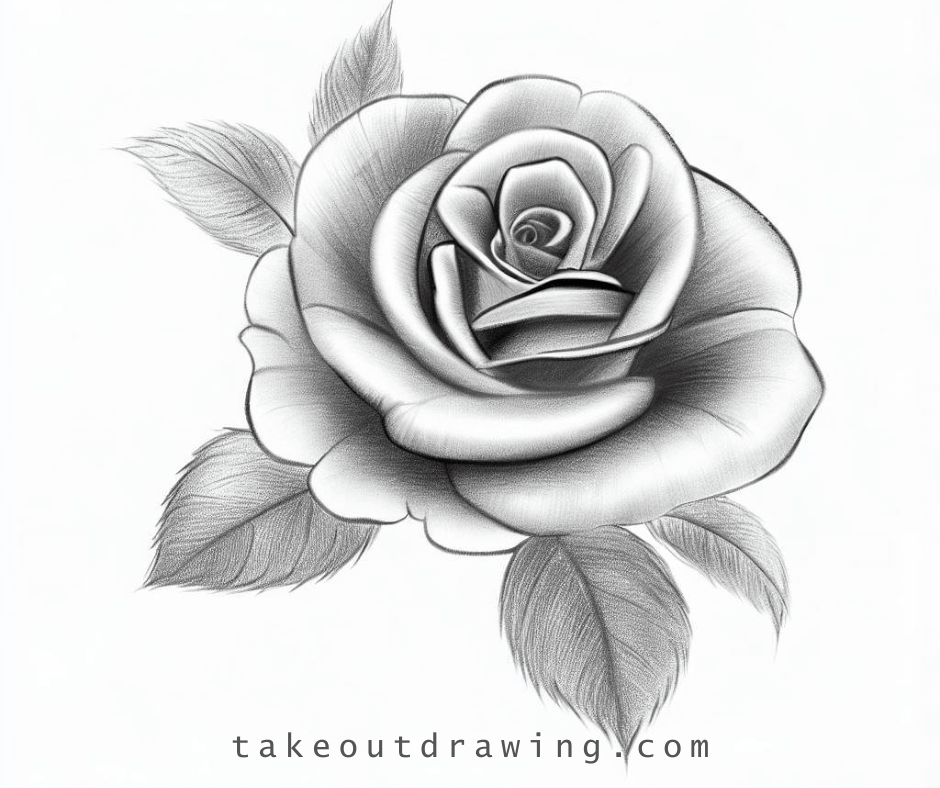
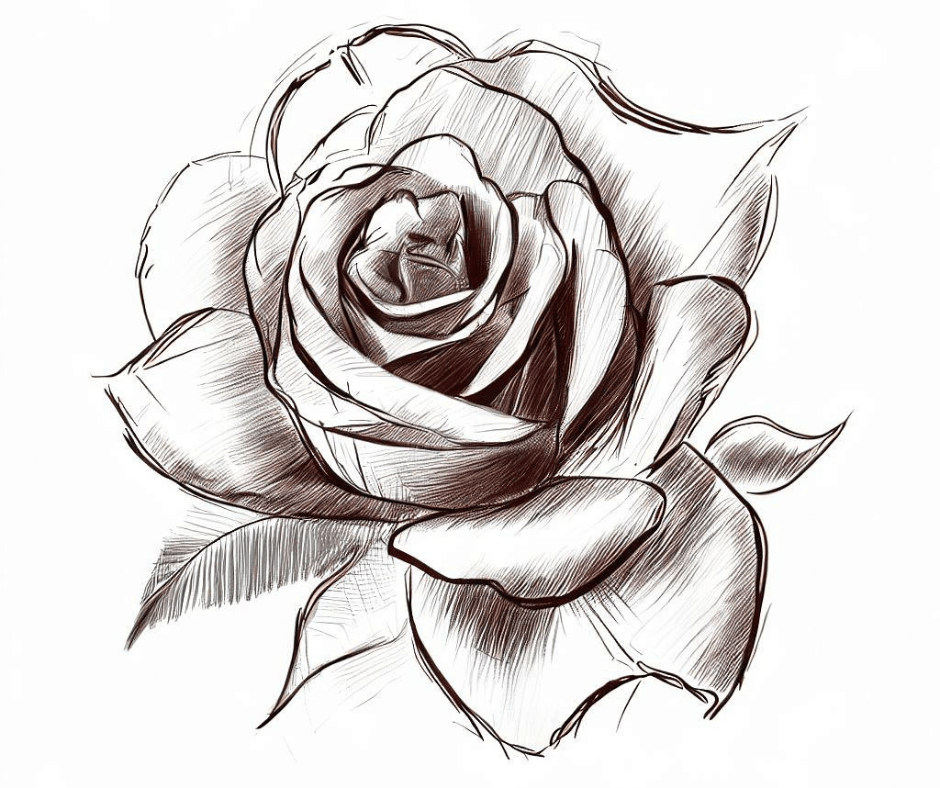
Easy Rose Flower Drawing
If you’re looking to capture the beauty of a rose through art, the “Easy Rose Flower Drawing” is here to guide you on a delightful artistic journey. In this blog post are discussing step-by-step instructions that will make the process of drawing a stunning rose flower a breeze. Whether you’re a beginner or simply seeking a simpler approach to sketching roses, this resource aims to provide you with the tools and knowledge to create a charming rose drawing with ease.
- Start by sketching a small oval shape at the center of your paper. This will be the rose’s bud.
- From the top of the oval, draw a slightly curved line that extends upward. This will be the rose’s stem.
- Next, draw a larger oval shape surrounding the bud. This will represent the outer petals of the rose.
- Inside the outer oval, draw a smaller, slightly elongated oval. This will be the inner set of petals.
- Now, it’s time to add some detail to the petals. Start by drawing curved lines from the outer oval towards the center of the rose, creating petal-like shapes. Repeat this step for the inner oval as well.
- Add additional petals by drawing curved lines between the existing petals. Vary the size and shape of these lines to give your rose a more natural appearance.

- To add depth, shade the inner parts of the petals slightly using hatching or cross-hatching techniques. This will give your rose a three-dimensional look.
- Moving back to the stem, draw a few leaves along its length. Start by sketching a small oval shape and adding jagged lines extending from it for the leaf’s edges.
- Finally, add details to the leaves by drawing veins using curved lines extending from the center of each leaf toward the edges.
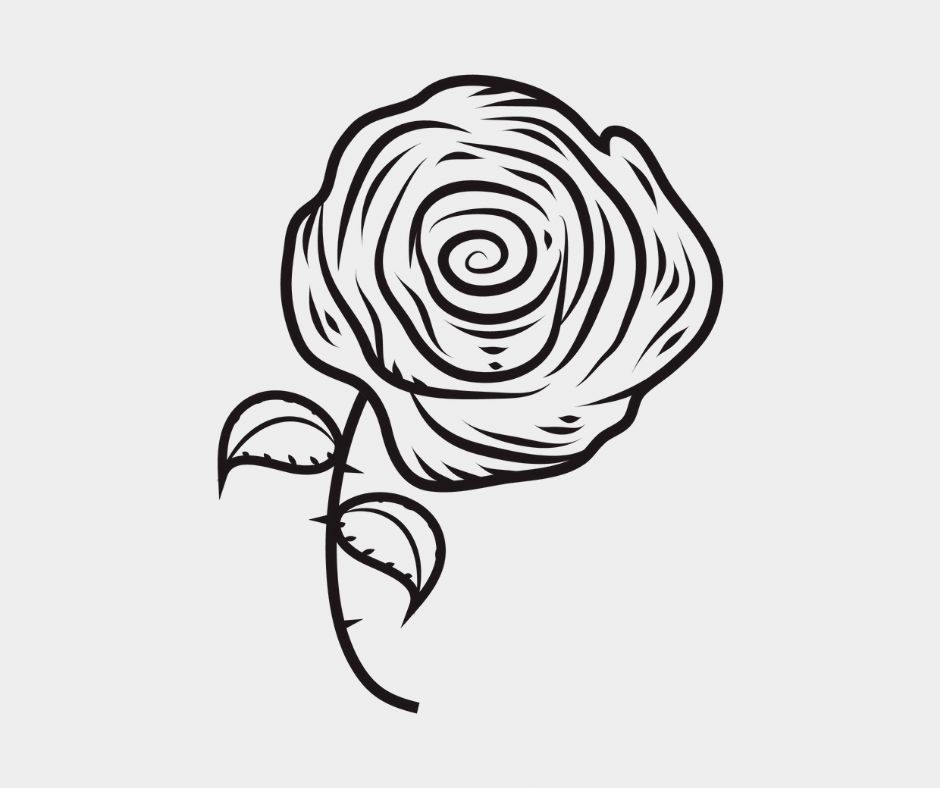
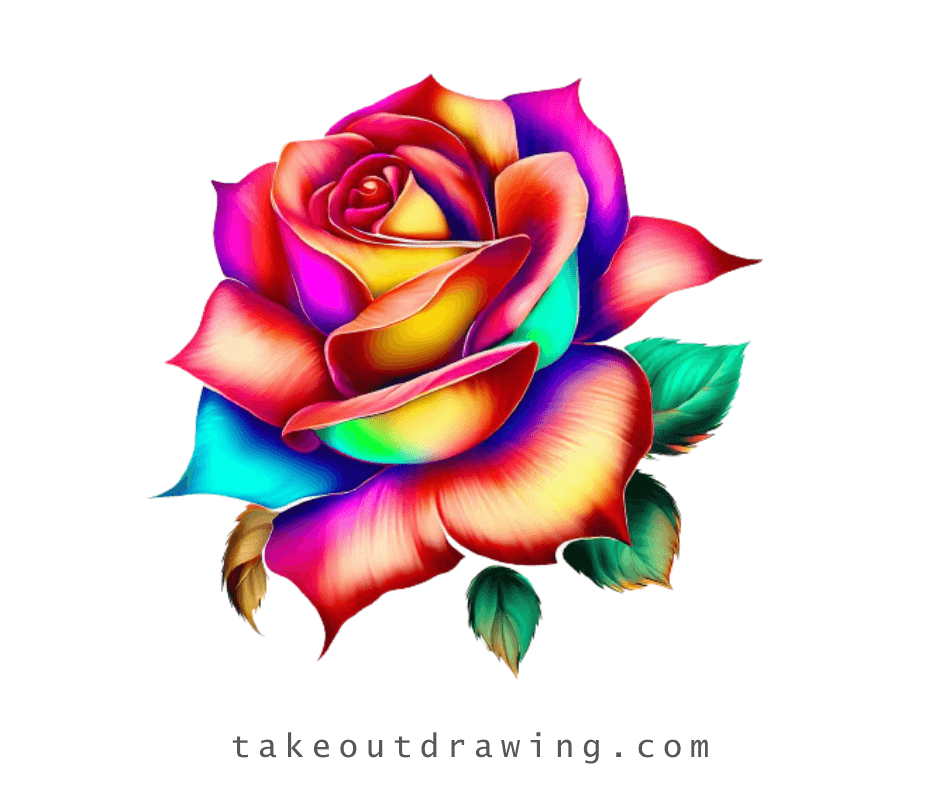
Rose Drawing With Colour
Drawing roses with color is a fun way to add some life to your sketches. You can use any colors you like, but some tips on a rose drawing with the color include using light and dark colors to create depth and interest and using complementary colors to create a balanced look. You can also use different shades of each color to create a more varied and realistic look.
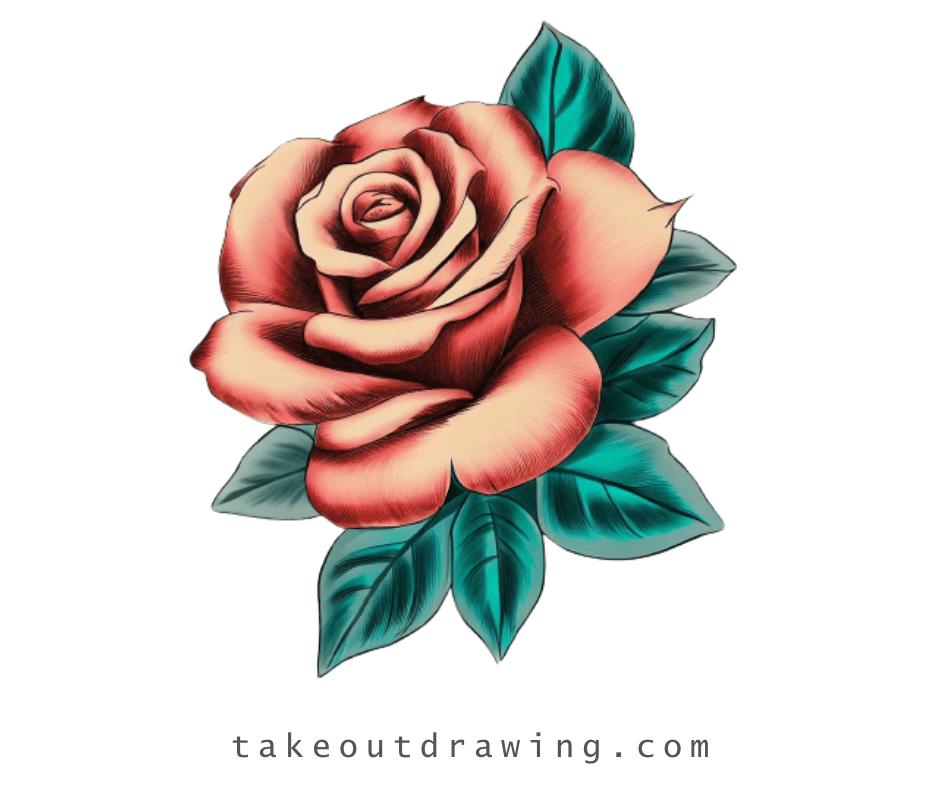

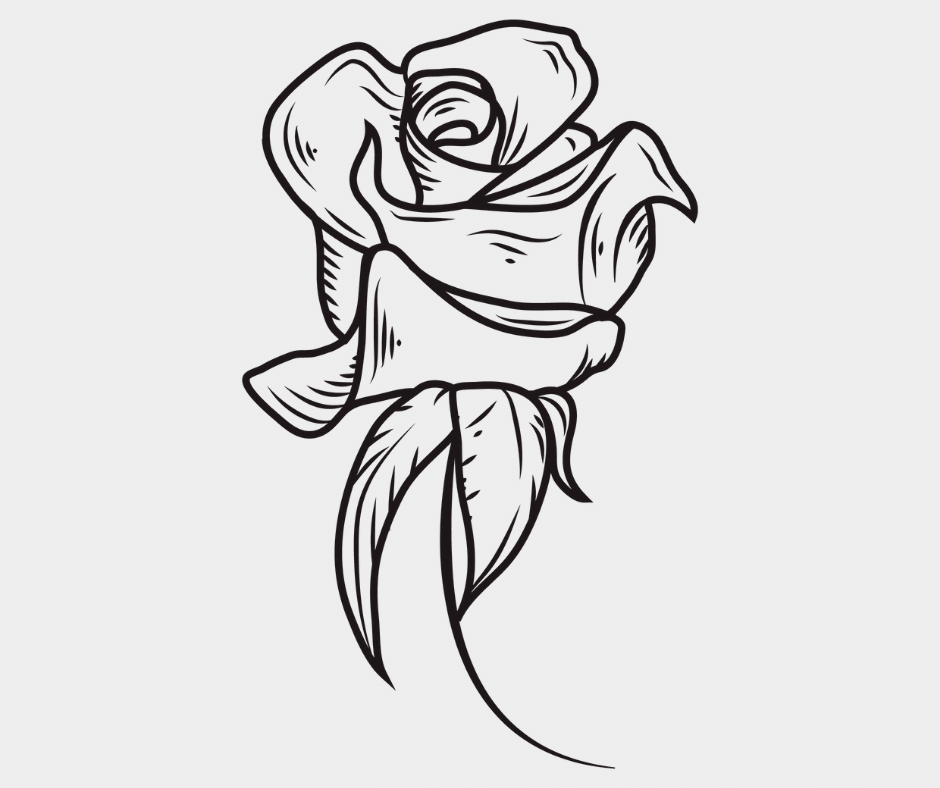
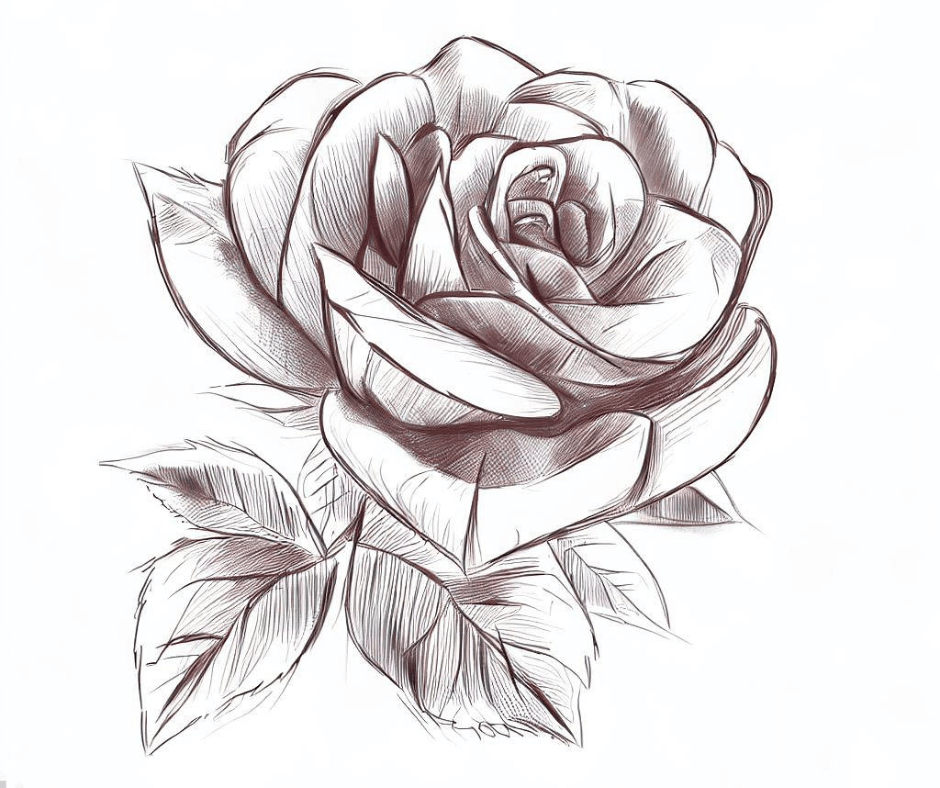
Rose Flower Drawing Sketch
- Start by lightly sketching a small oval shape at the center of your paper. This will serve as the base of your rose.
- From the top of the oval, draw a curved line that extends outward and slightly downward. Repeat this on the other side to create the first petal.
- Add more petals around the center by drawing similar curved lines, gradually increasing their size as you move outward. Vary the shapes and angles of the petals to give your rose a natural look.
- Once you have a few layers of petals, start adding detail. Add small lines and curves within the petals to create texture and depth. Pay attention to the natural folds and contours of a rose.
- Draw the sepals, which are the small leaf-like structures beneath the petals. They usually appear as pointed shapes emerging from the base of the rose. Add a few sepals around the bottom of your rose.
- To complete the sketch, erase any unnecessary guidelines and adjust the shape of the petals or sepals if needed. You can also darken some lines to enhance the definition and contrast in your drawing.

Another trending drawings
- Pineapple Drawing- How to draw pineapple step by step
- Easy, Cartoon Fox Outline Line Drawing Tutorials
- Easy Cute Duck Drawing Guide and Tutorials
- Easy Frog Drawing- Cute Frog Drawing Outline
- Jellyfish Drawing: Cute, Easy & Realistic JellyFish Drawing
Note: The images used in this blog post are for illustrative purposes only and are not actual step-by-step progression images of a jellyfish drawing.


Salut, ech wollt Are Prais wessen.
不知道说啥,开心快乐每一天吧!
🙏