Pencil drawing is a wonderful form of art that allows you to bring your imagination to life on a blank canvas. In this step-by-step guide, we will explore how to draw an easy frog drawing using a pencil. Frogs are fascinating creatures known for their vibrant colors and unique features, making them an excellent subject for artistic expression. Whether you are a beginner or an experienced artist, this tutorial will provide you with the necessary guidance to create a stunning cute frog drawing.
Materials Needed for Easy Frog Drawing
Before we delve into the steps, let’s gather the materials you will need for this drawing:
- Drawing pencils (HB, 2B, 4B, and 6B)
- Drawing paper or sketchbook
- Eraser (kneaded eraser and regular eraser)
- Blending stump or cotton swabs
- Reference image of a frog (optional but helpful for accuracy)
Step 1: Basic Outline
Start by lightly sketching the basic outline of the frog using an HB pencil. Pay attention to the proportions and shape of the frog’s body. Begin with a circle for the head and a rounded shape for the body. Add the limbs and a curved line for the spine. Keep the lines light and loose to make corrections easier in later stages.
Step 2: Facial Features
Next, focus on the frog’s facial features. Add two large circular eyes slightly tilted towards the top. Within each eye, draw a smaller circle for the iris and a tiny circle for the pupil. Sketch a small triangle for the nose and a wide smile for the mouth. Take your time to capture the expressions and details that bring the frog to life.
Step 3: Shading and Textures
Now it’s time to add depth and dimension to your drawing by shading and adding textures. Start by using a 2B pencil to shade the areas of the frog that are darker, such as the eyes, the folds of the skin, and the shadows cast by the limbs. Gradually build up the shading by layering darker tones with a 4B or 6B pencil. Pay attention to the reference image to accurately depict the textures on the frog’s skin.
Step 4: Background and Surroundings
To enhance the overall composition, consider adding a simple background or surroundings for the frog. It could be a pond, lily pads, or a leafy environment. Use lighter pencil strokes to create the background and ensure it doesn’t overpower the main subject. This step will give your drawing a sense of context and make it more visually appealing.
Step 5: Refining and Blending
Once you have completed the main elements of your drawing, take a step back and evaluate the overall composition. Look for any areas that need refinement or adjustment. Use a kneaded eraser to gently lift off excess graphite or to create highlights. You can also use a blending stump or cotton swabs to smudge and blend the shading for a smooth and realistic effect.
Step 6: Final Touches to Easy Frog Drawing
In the final stage, take some time to add any necessary details and make final adjustments. Pay attention to the tiny intricacies, such as the patterns on the frog’s skin or the subtle highlights. Use a variety of pencils to achieve the desired effects. Take breaks if needed to ensure you maintain a fresh perspective and avoid overworking your drawing.
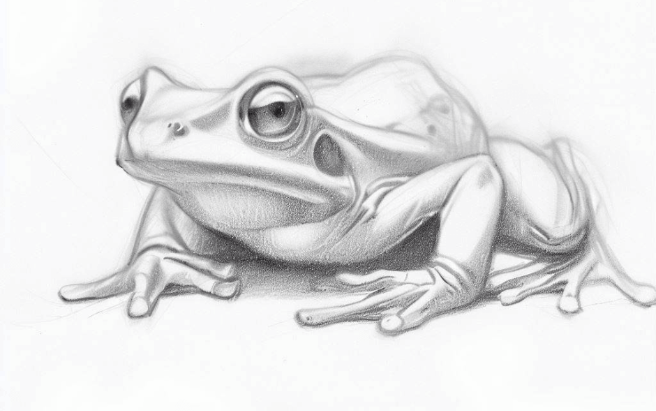
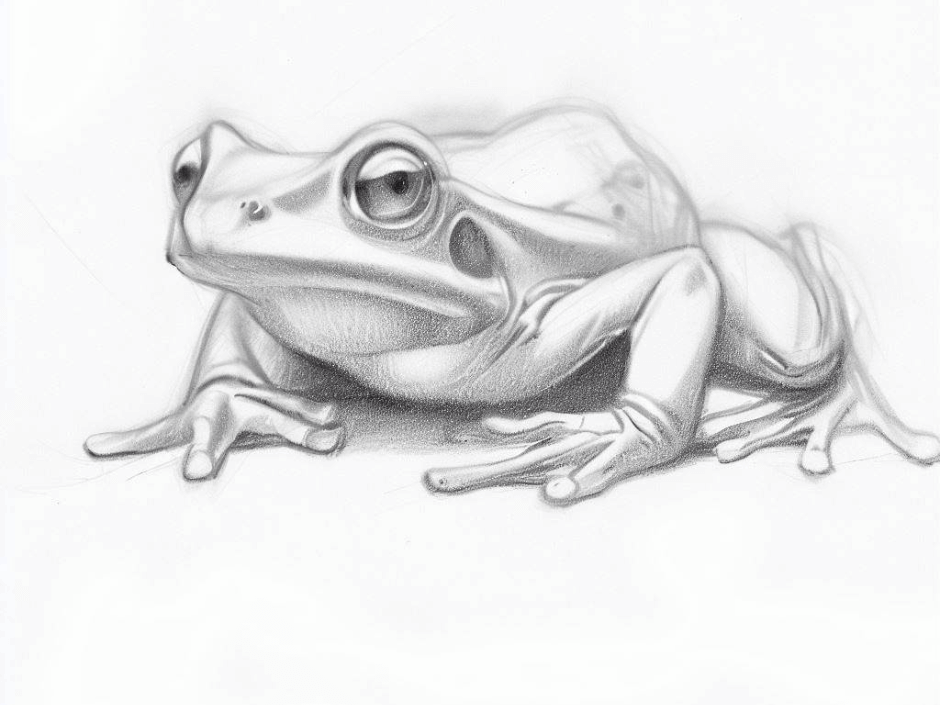
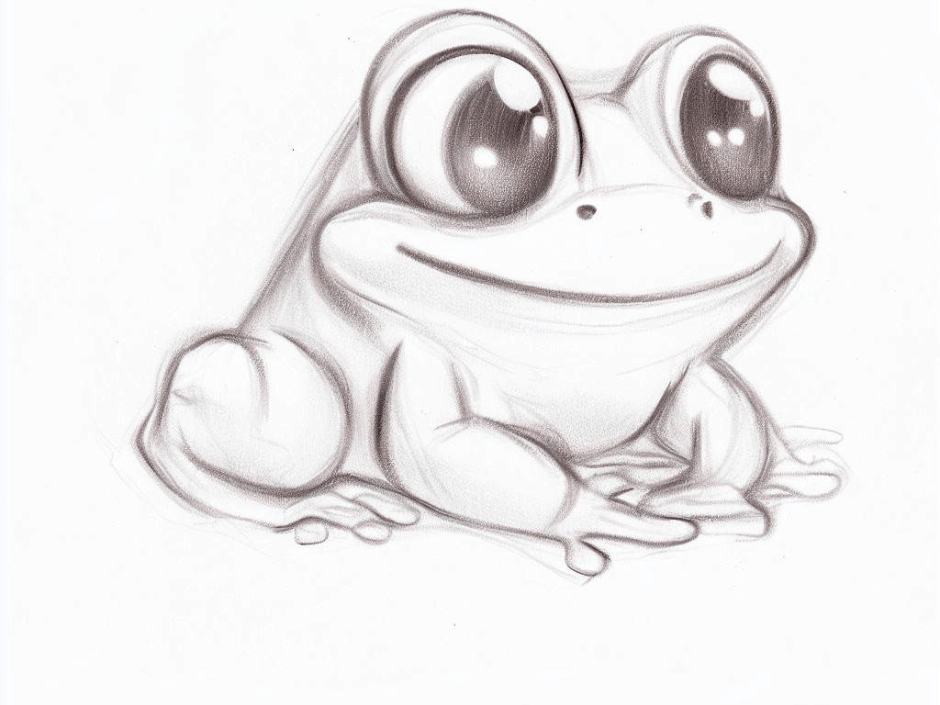
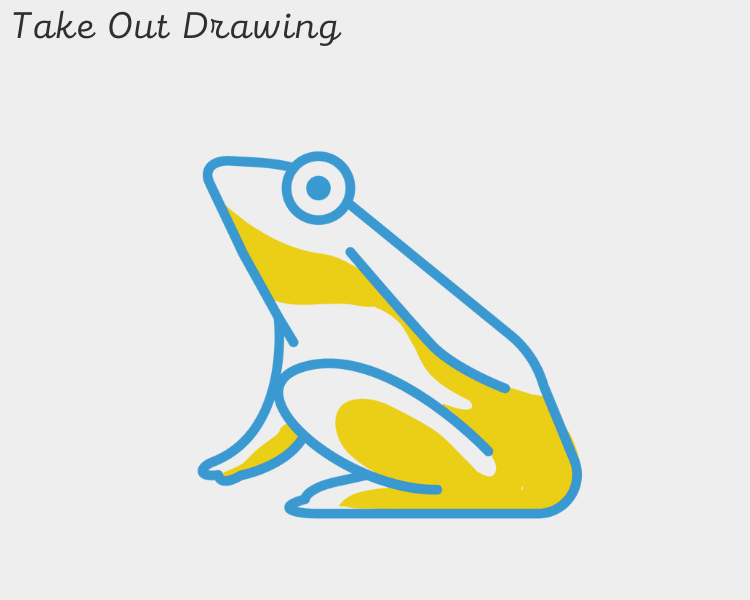
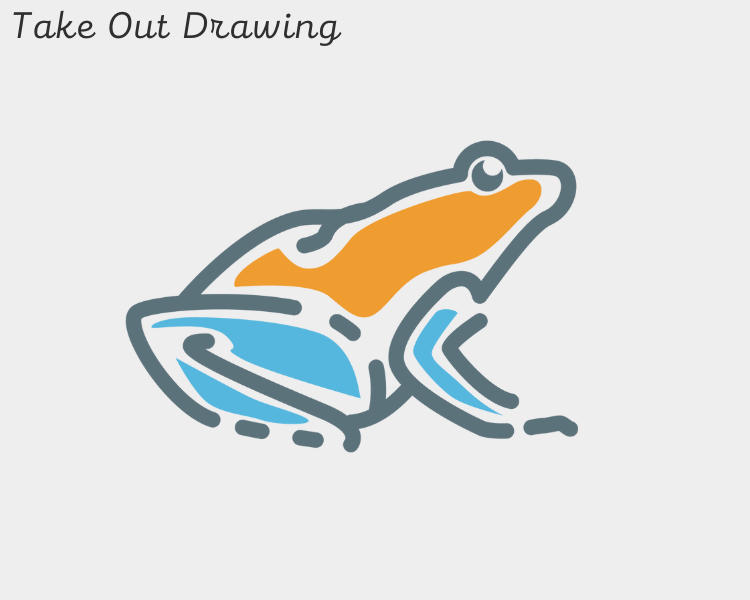
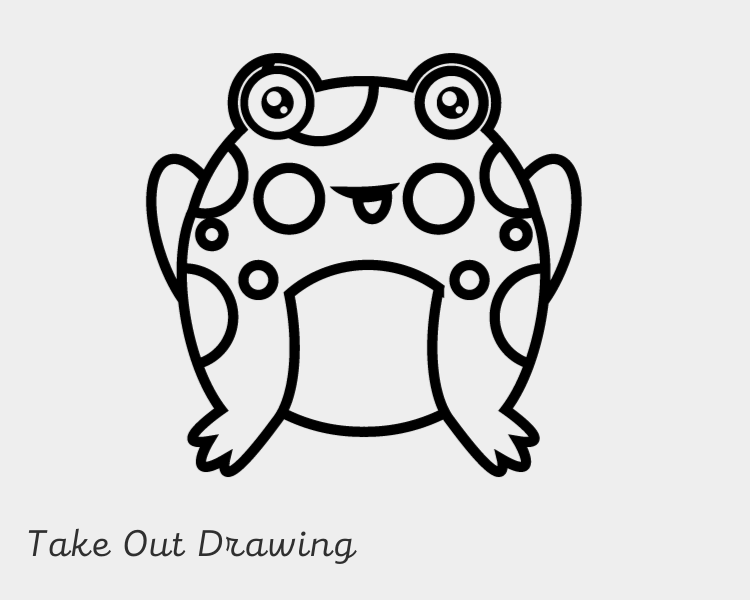
Cute Frog Drawing
Cute Frog Drawing Sample 1
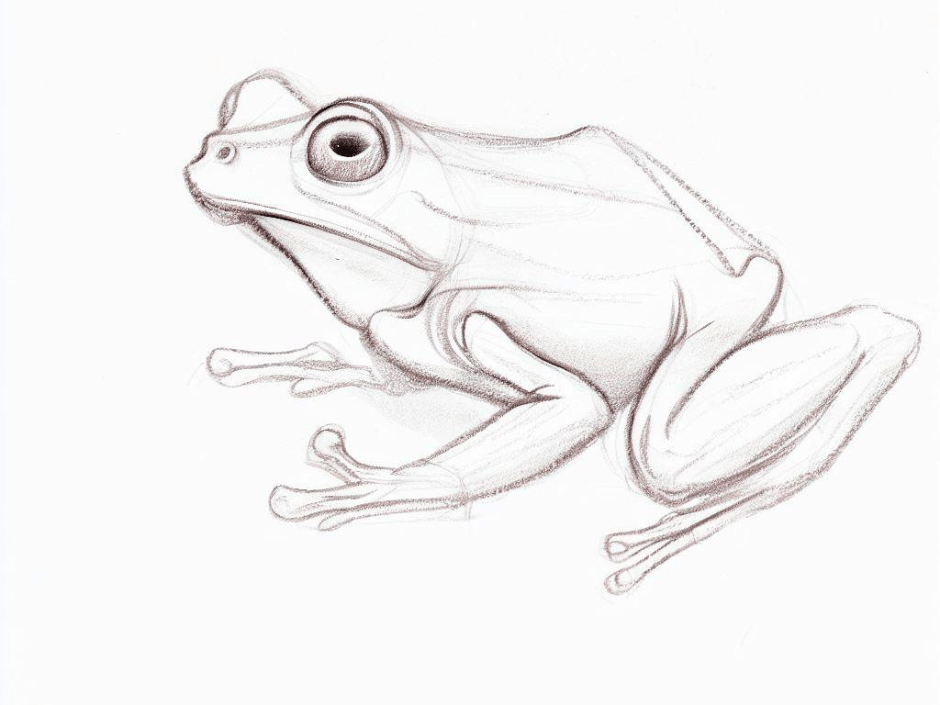
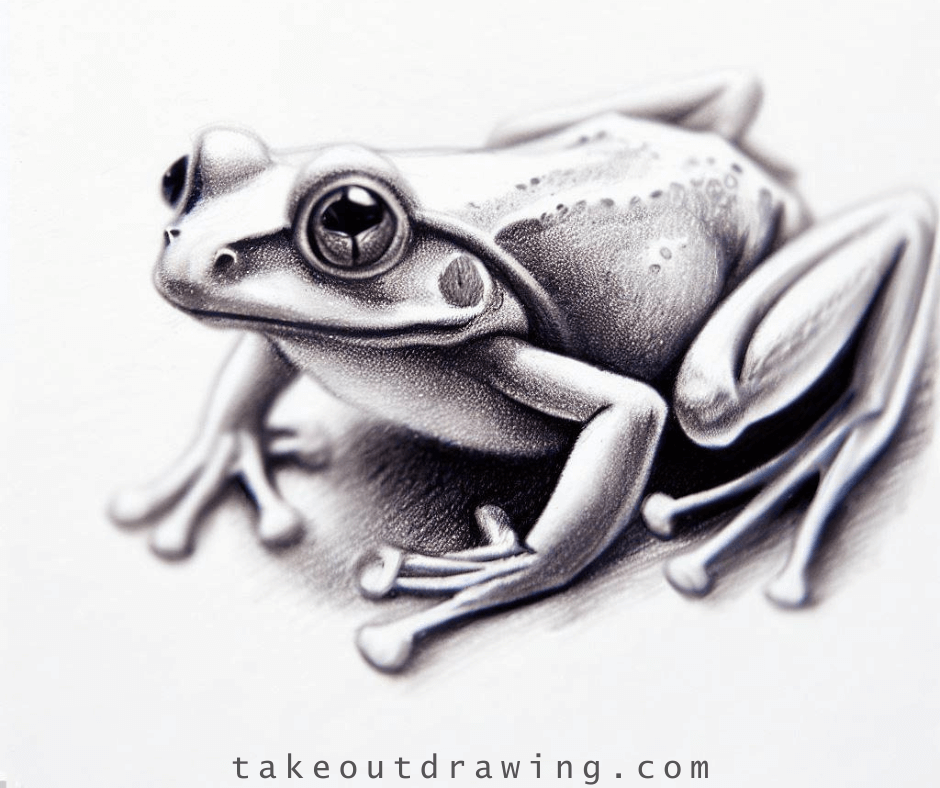
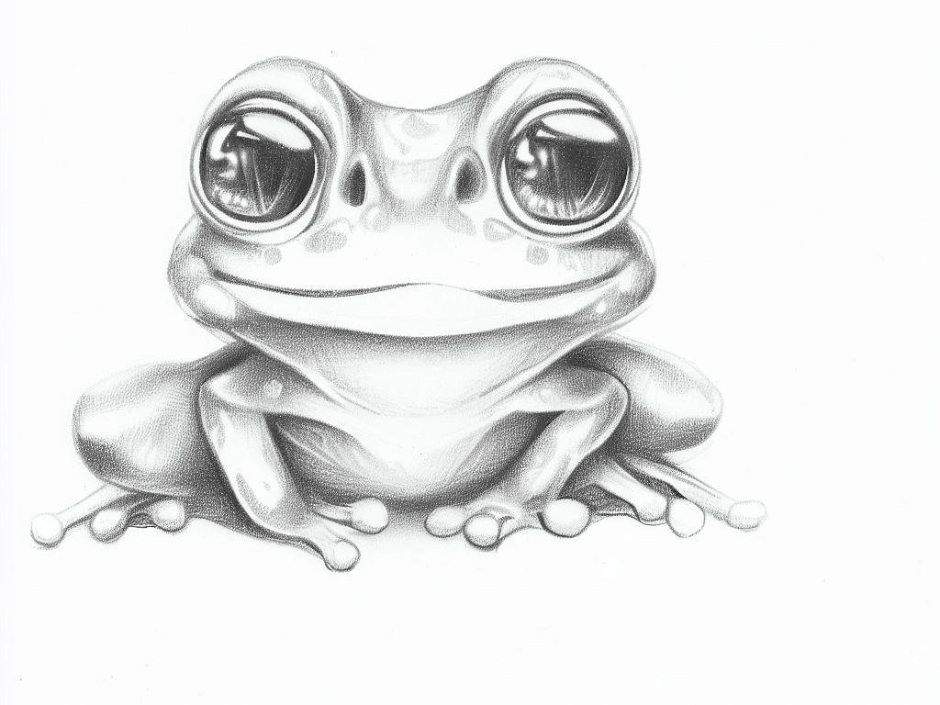
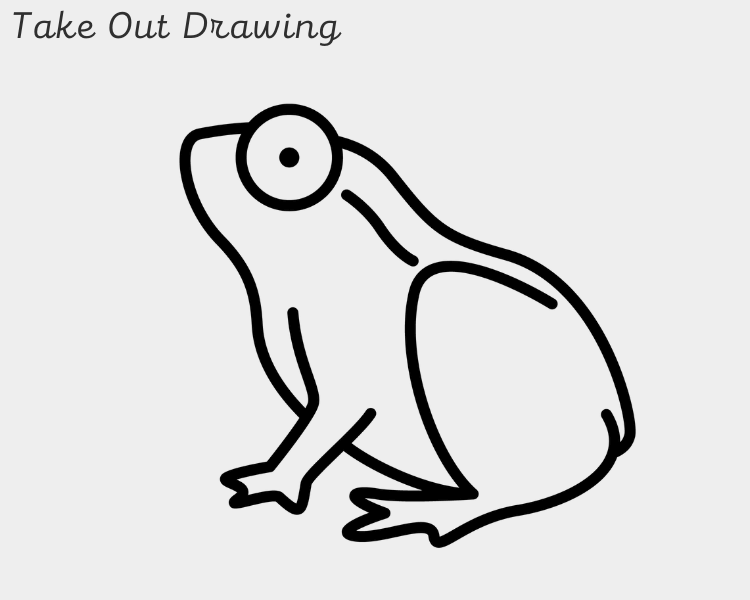
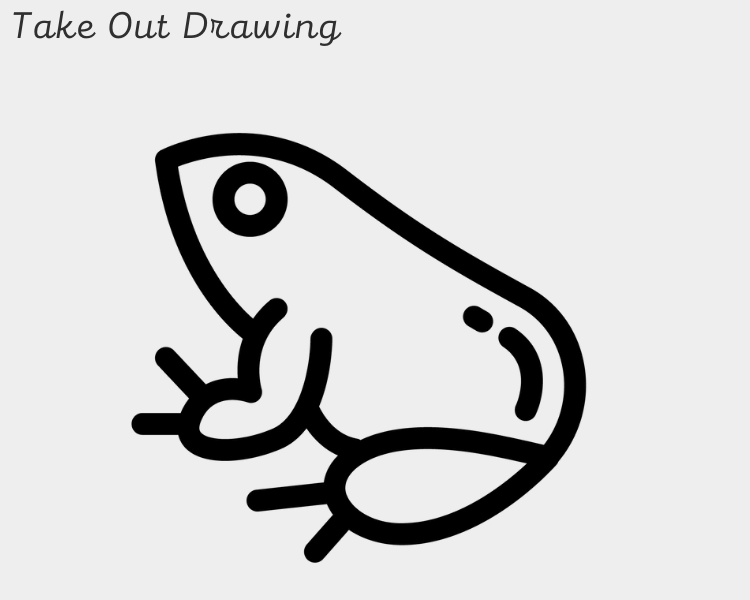
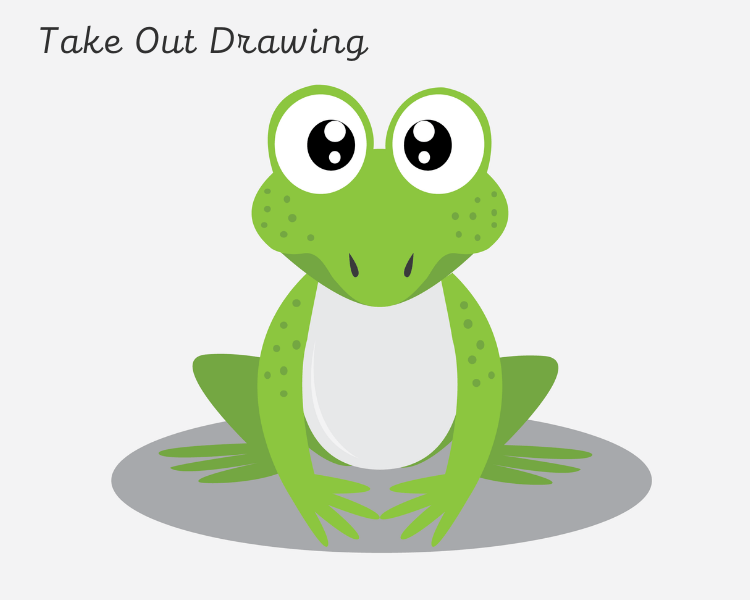
Cute Frog Drawing Sample 2
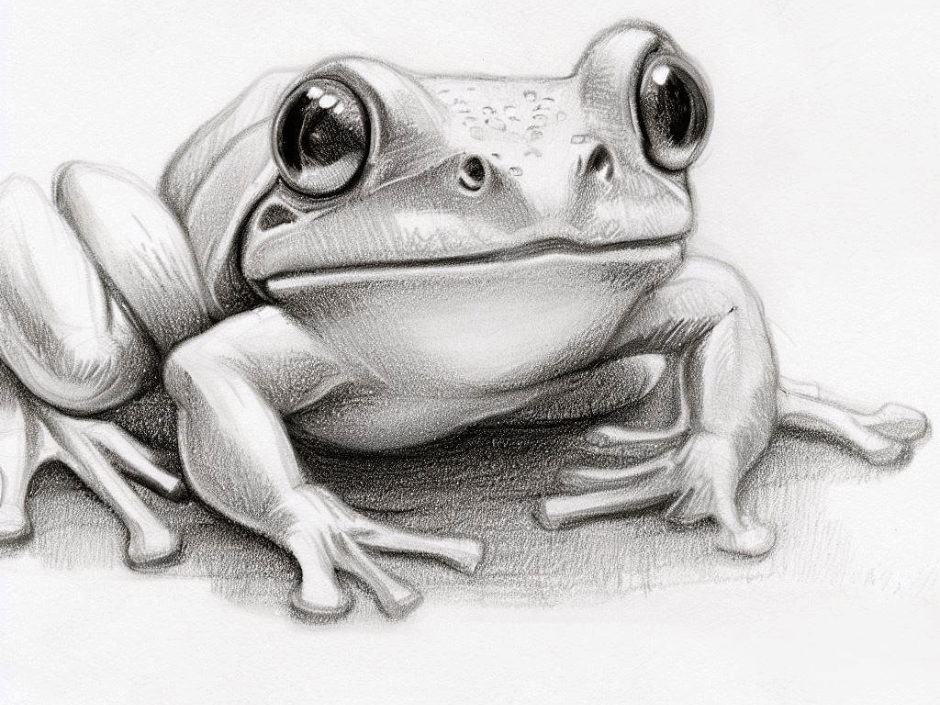
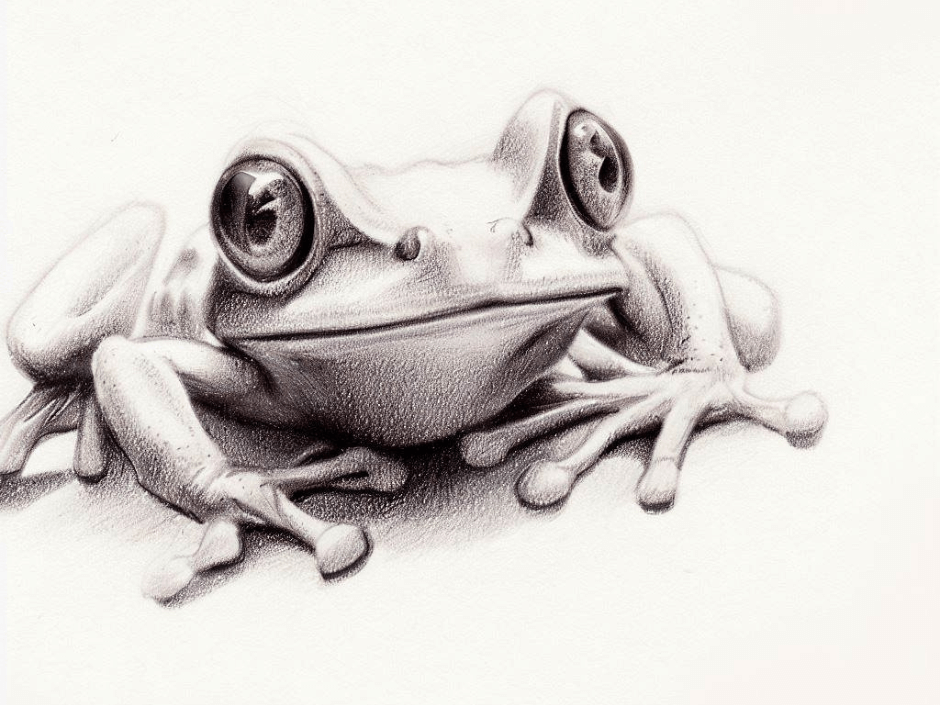
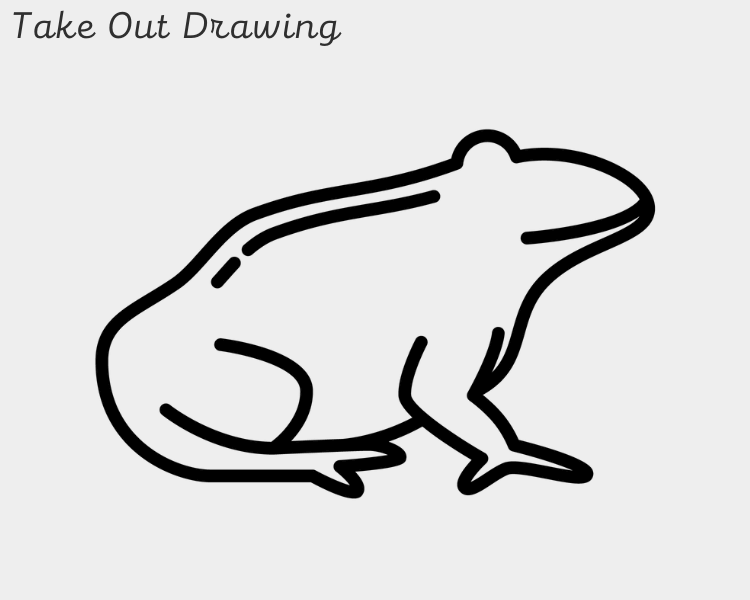
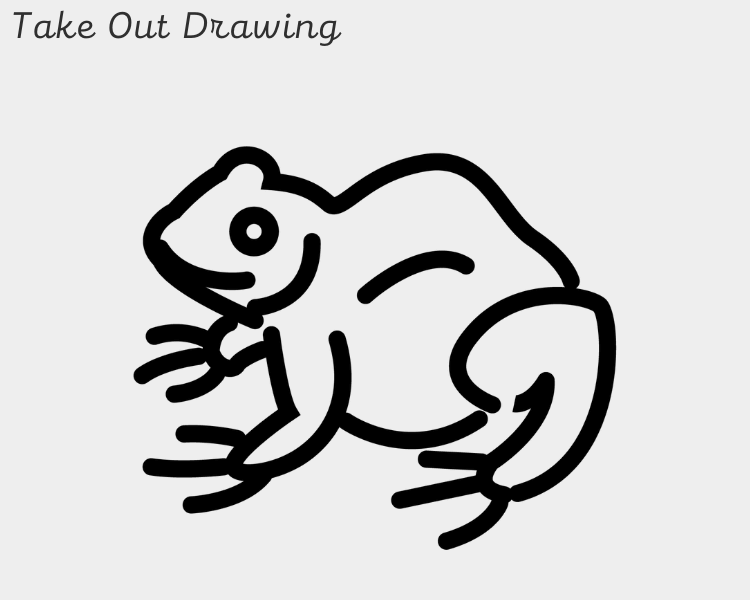
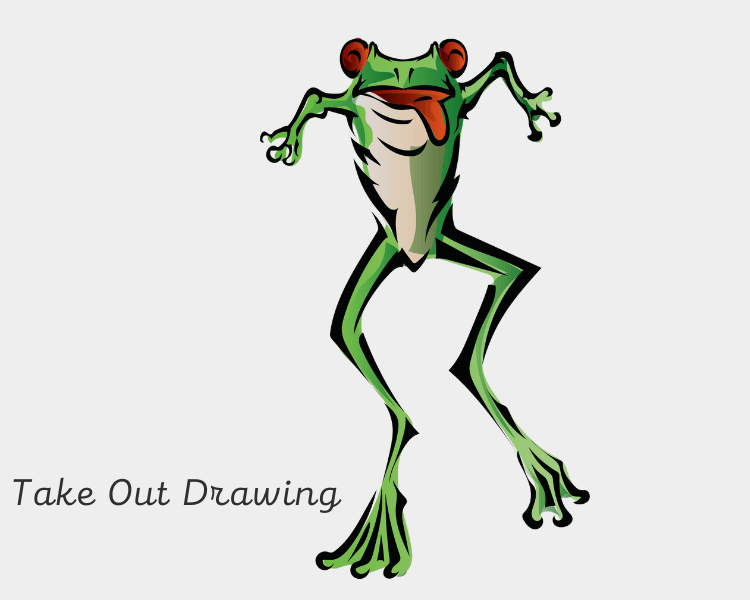
Cute Frog Drawing Sample 3
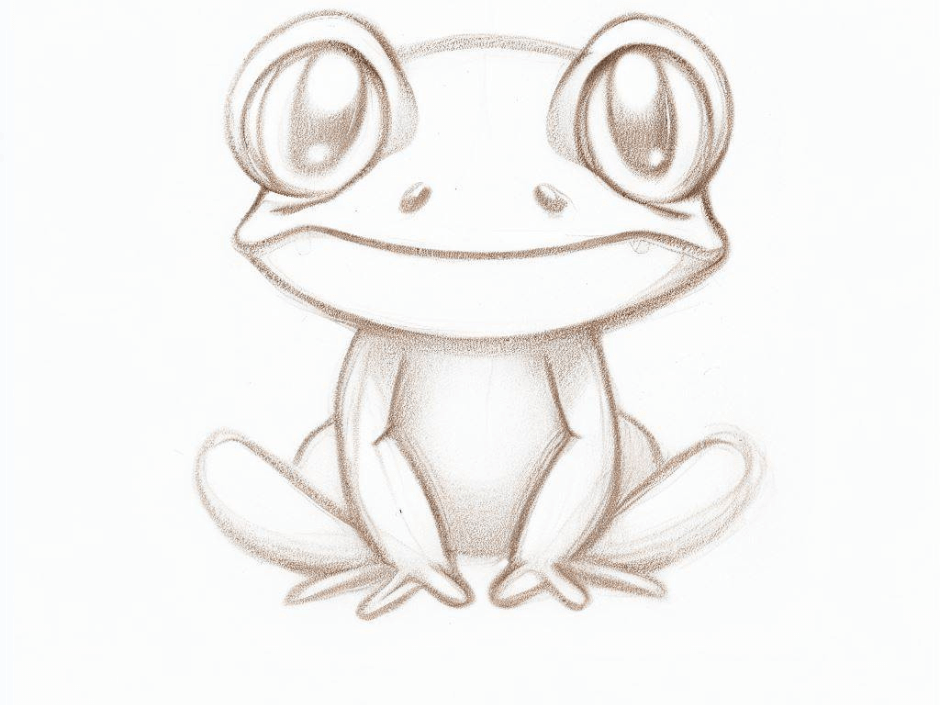
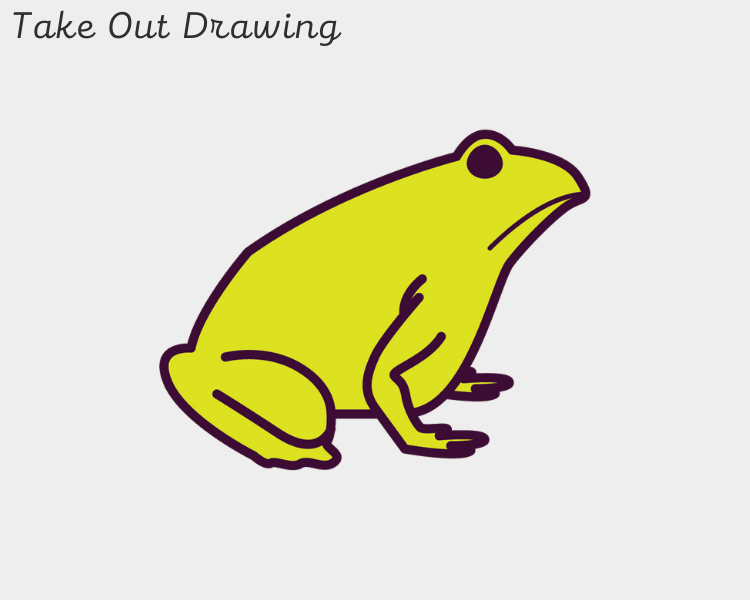
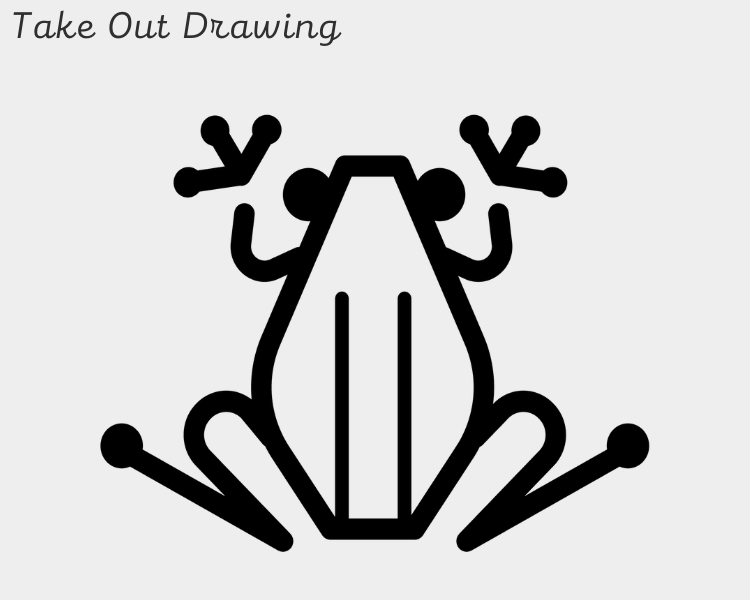
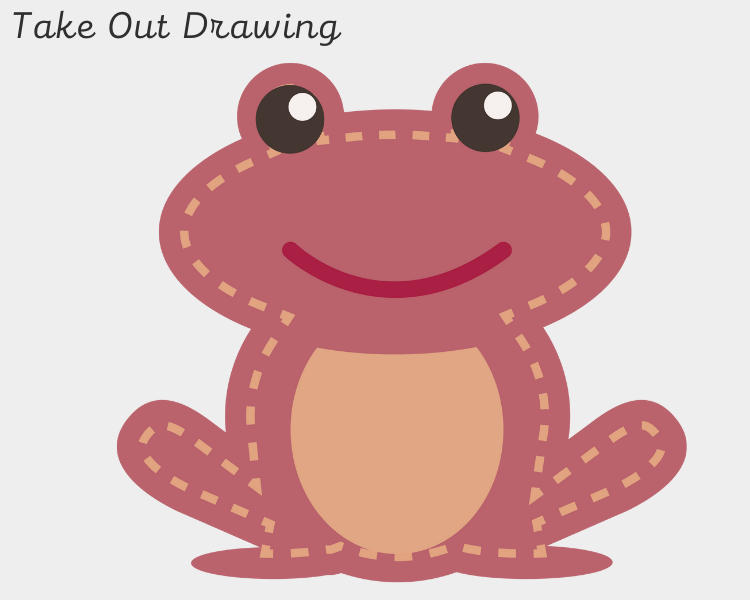
Cute Frog Drawing Sample 4

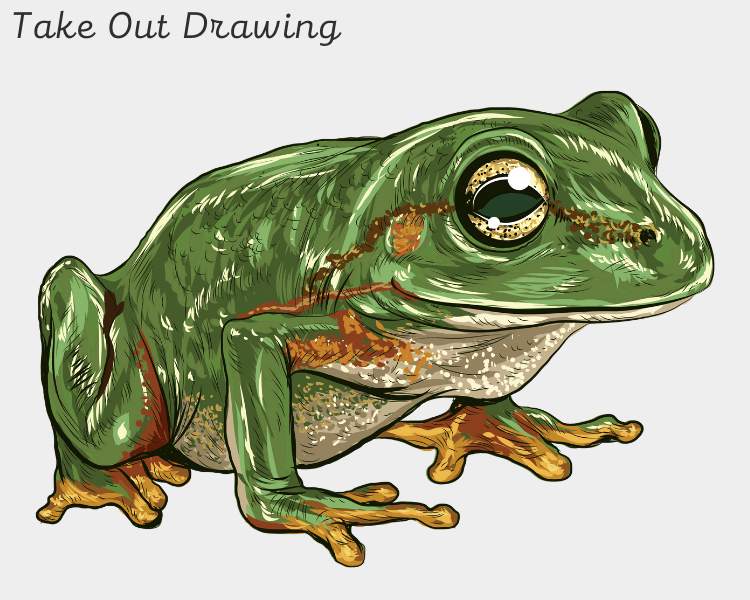
There are many ways to draw a frog, but here is one of my personal favorite ways. We will be drawing a realistic frog in this tutorial, but you’ll find it easy because frogs come in different shapes and sizes. For this tutorial, we will be using pencils and paper like usual, but if you wanted to draw a frog on the computer, it would be much easier with the use of Photoshop.
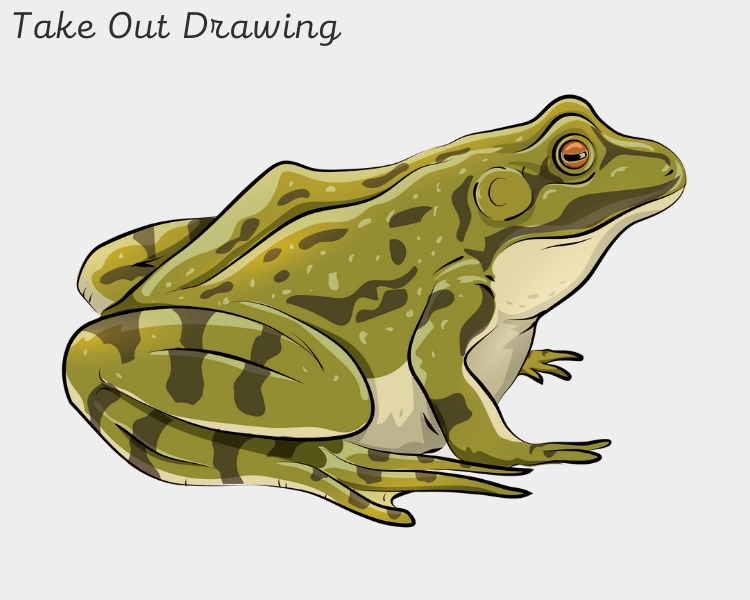
Here are pictures of a frog that we will be using for this tutorial.
First, you want to sketch out a rough shape of a Frog. You can use the one above if you wish, but it makes it easier if you have an actual drawing in front of you to work with. I my example, I will be using a sketch of my own that I did above. If you don’t want to draw one on your own, the picture above should suffice fine enough.
Next, erase unnecessary lines and try to make it as smooth as possible. Pencils aren’t very good with detailed images, so if you’re going to be using pencils, make sure you erase all the unnecessary lines.
Now that we have a frog ready to go, let’s start coloring it in. I used a colored pencil to color mine in, but if you don’t have colored pencils then use whatever you want to color with.
Don’t worry about coloring in the picture yet. We will get to that part of the tutorial later, but for now, let’s focus on drawing a frog from what we have so far.
The sketch above is how I drew my frog. The sketches before were just used as examples of things your frog might look like, and this one was done by me using a different frog as a reference. Now that we have a sketch of your frog, let’s draw another one using pencils on some paper.
I would suggest using non-photo blue pencils for this part of the tutorial because they are really simple to erase and can give a nice smooth shade without doing too much work.
You can use him if you want, or you can draw your own frog from scratch by using him as a reference.
Easy Frog Drawing
Now that we have our frog drawn out with pencils, we can move on to the shading part of our tutorial. Use your blue colored pencil and shade in some places that would naturally be darker than others while keeping in mind that frogs are usually pretty green(or other colors).
Last but not least, color him in with your green colored pencil. Some little details like his tongue and eyes can be colored in with other colored pencils. I didn’t do so because mine would only show up as a lighter shade of green than what was already there. (even when I used darker shades)
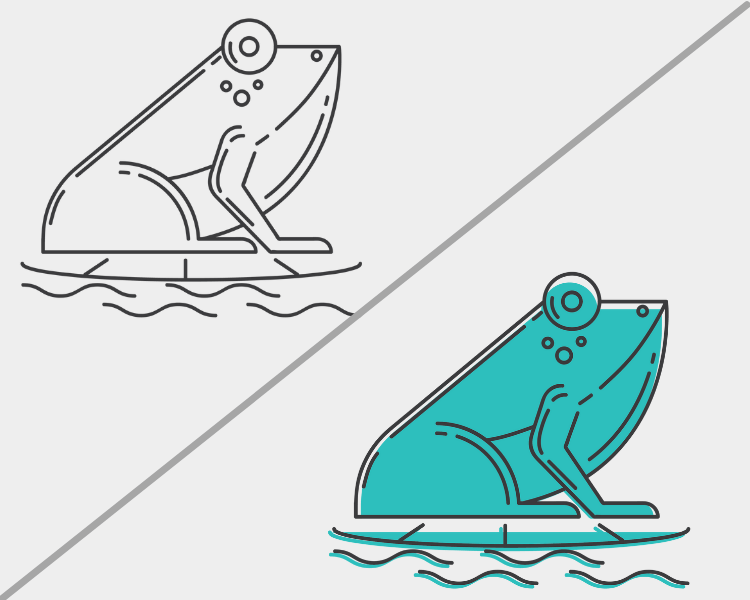
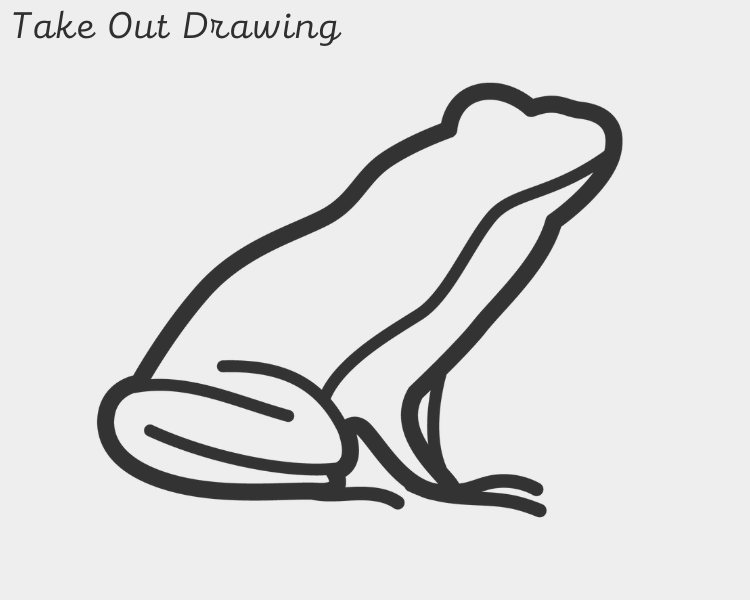
Frog Outlines
Cute Frog Cartoon
Cute Frog Art

Another trending drawings
- Pineapple Drawing- How to draw pineapple step by step
- Easy, Cartoon Fox Outline Line Drawing Tutorials
- Easy Cute Duck Drawing Guide and Tutorials
Important Facts About Frog

- Frogs are amphibians which means they are cold-blooded animals that need the sun to warm their bodies before they can become active. Frogs have smooth, moist skin which makes it difficult for them to regulate their body temperature so they must spend a lot of time in the sun warming up.
- The frog’s habitat is usually near a body of water such as a pond, stream, or river. Frogs need water to reproduce and lay their eggs so they will always be near some sort of wetland area. They spend most of the day hiding under vegetation because they are very vulnerable to predators during this time. This is why you rarely see frogs exposed during the daytime.
- Frogs are carnivores which means that they only eat meat such as insects, lizards, and fish. Frogs rarely if ever actually come out to hunt on their own accord so most of the time they will just sit and wait for an unsuspecting insect or small animal to happen by. They can extend their tongues up to one and a half times the length of their body!
- Their tongues are attached near their pelvic area. When a frog’s tongue is not in use it is folded and tucked under its eyeballs. Frogs also have teeth that allow them to grind food down before they swallow.
- Frogs can stay underwater for more than 30 minutes at a time because of a substance called mucus that covers their skin. The mucus will make a frog’s skin slippery and hard to penetrate.
- Frogs have been around for more than 200 million years! They can live on land or in the water – hence the name amphibian – which means they are one of the oldest living creatures on Earth.
- So why do frogs have such an amazing defense system? The story starts with the frog’s predators. Frogs are very tasty to snakes, lizards, birds, and even some mammals like cats and dogs. In fact, there isn’t a single meat-eating animal that doesn’t enjoy frogs on its menu! So how can one small creature escape all these animals? It’s all about adaptation and using the tools that nature gave them.
Frequently Asked Questions (FAQs)
Do I need to be an experienced artist to attempt this drawing?
Can I use a reference image for this drawing?
What if I make a mistake during the drawing process?
How can I make my drawing appear more realistic?
Can I add color to my pencil drawing of a frog?
How long will it take to complete a pencil drawing of a frog?
Note: The images used in this blog post are for illustrative purposes only and are not actual step-by-step progression images of a jellyfish drawing.