Introduction
Ducks are beautiful birds found throughout the world in both freshwater and saltwater environments. There are more than 140 species of ducks, and they’re all so cute with their webbed feet, fluffy feathers, and bright beaks.
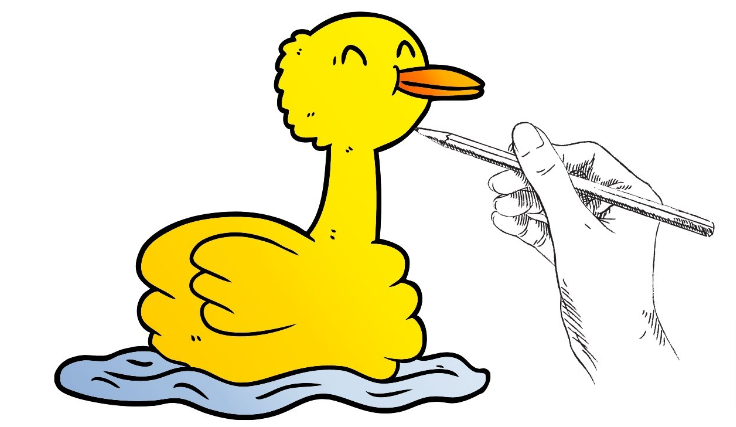
To learn how to draw a duck step by step, you’ll need to break down the drawing process into several easy steps that you can follow along with as you make your own version of this fun bird.
Start with the basic shapes of a Duck
It is best to work on one section at a time. Draw simple shapes and then combine them.
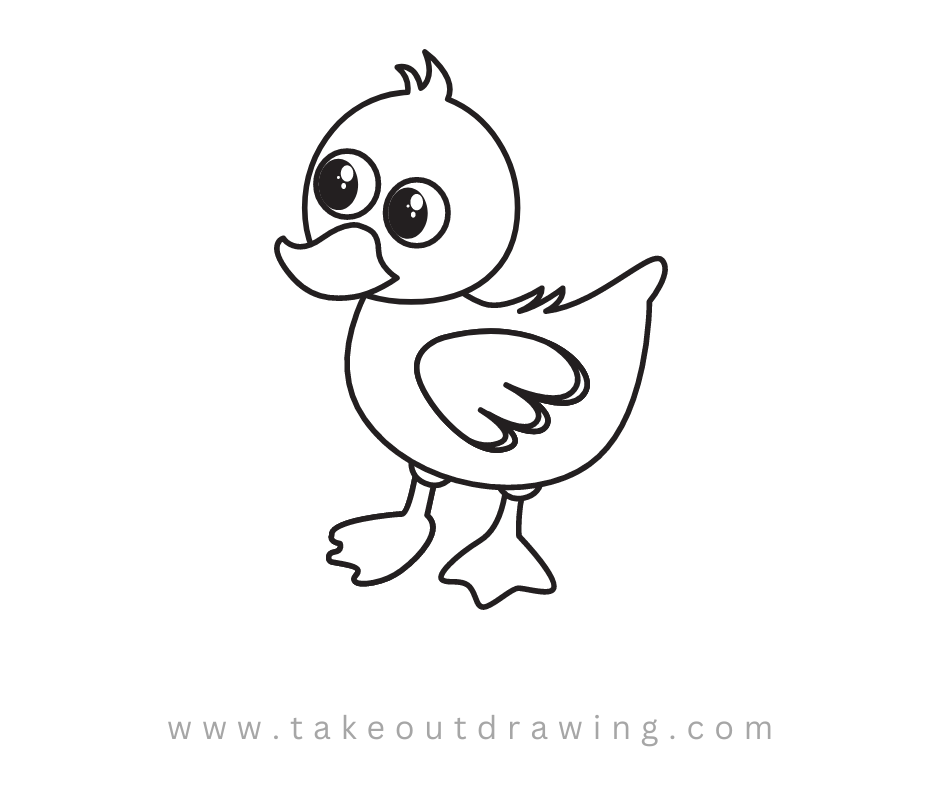
You can start with an egg-shaped oval for your duck’s head, as well as another oval shape for his beak. You can also use circles in various sizes to form his eyes and pupils. Put all of these shapes together and you have your head!
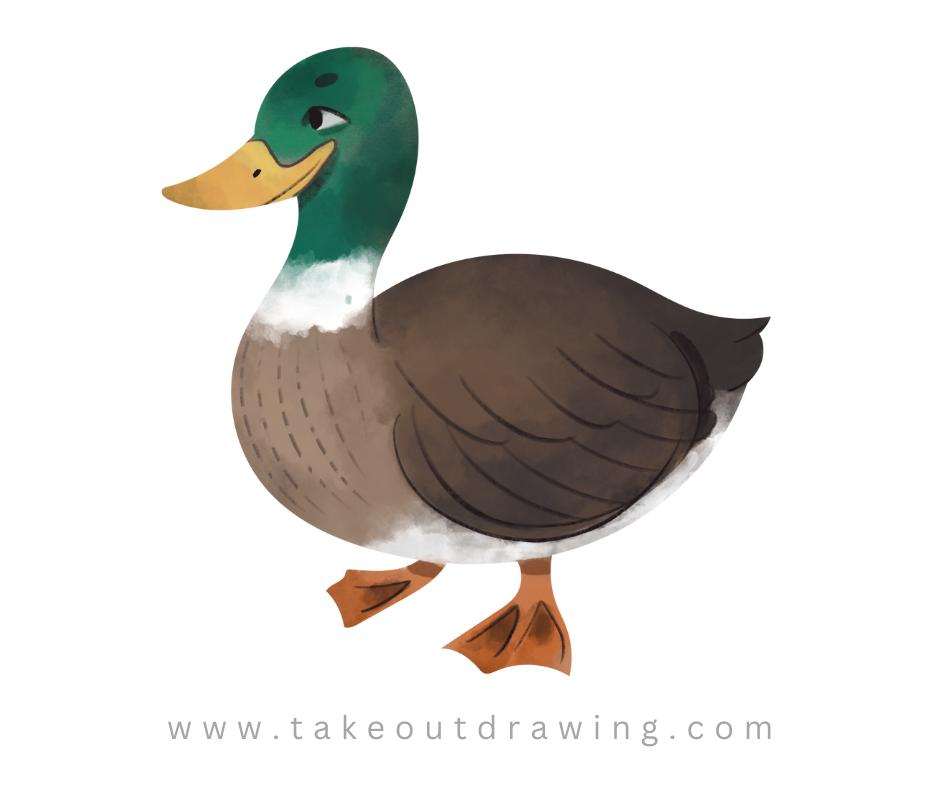
Draw Neck & body
Draw an elongated ellipse for his neck and add some curves along its length to indicate feathers. Then draw a bigger ellipse for his body, taking care to make it larger than his head but smaller than his wingspan.
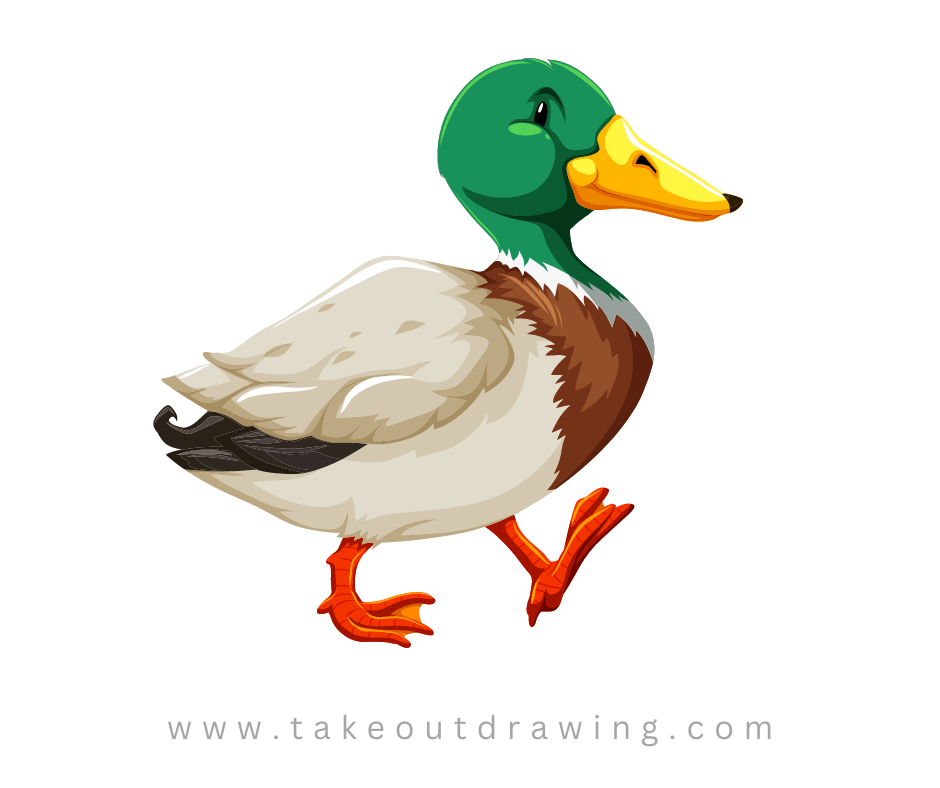
Draw the legs
Draw 2 ovals that are roughly the same size, on either side of your body. These will be your duck’s legs. If you have trouble drawing these shapes, look at pictures of ducks or other birds with their legs extended and use them as reference points. Don’t worry if they’re not perfect—just do your best to make sure they’re in proportion with one another.
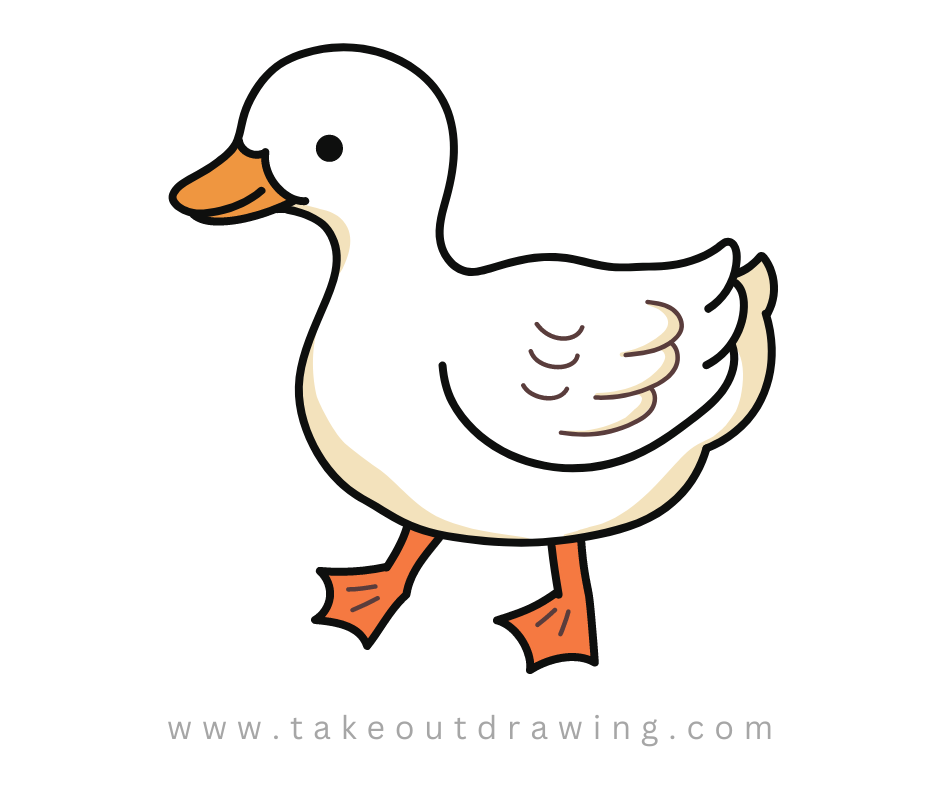
Add details to the drawing
Here’s where you want to add as much detail as possible. Use your imagination! The more intricate you can make your drawing look, the better. And if you don’t know how to draw something—no biggie, just research it and find out. Here are some examples of things you could add eyelashes, wrinkles on its beak, feathers on its wings…the list goes on and on.
The point is: Don’t be afraid to get creative with your drawings! It may seem silly or unimportant now but adding these little details will help you retain information in the long run.
Finish it off
The key to great drawing is that every stroke counts. You can’t just slap down some color and call it a day. So take your time with each stroke, and try to make your lines smooth and even, just like you see in your reference photos. If you do that, I think you’ll be impressed with what you can create!
Just have fun with it, and if something isn’t working out right, feel free to start over. Drawing is all about trial and error; if something doesn’t work out right now, maybe it will later on as you practice more. Good luck!
Why Drawing Ducks is Fun
Drawing is a relaxing and enjoyable hobby that allows you to express your creativity and imagination. And what could be more enjoyable than drawing adorable ducks? Drawing ducks is an easy and enjoyable way to improve your skills and create beautiful artwork, whether you’re a beginner or an experienced artist.
The Joy of Easy Duck Drawing
Drawing a duck is a great place to start if you’re new to drawing or just want to try something simple. You can make a charming and lifelike duck that will impress your friends and family with just a few basic shapes and some attention to detail.
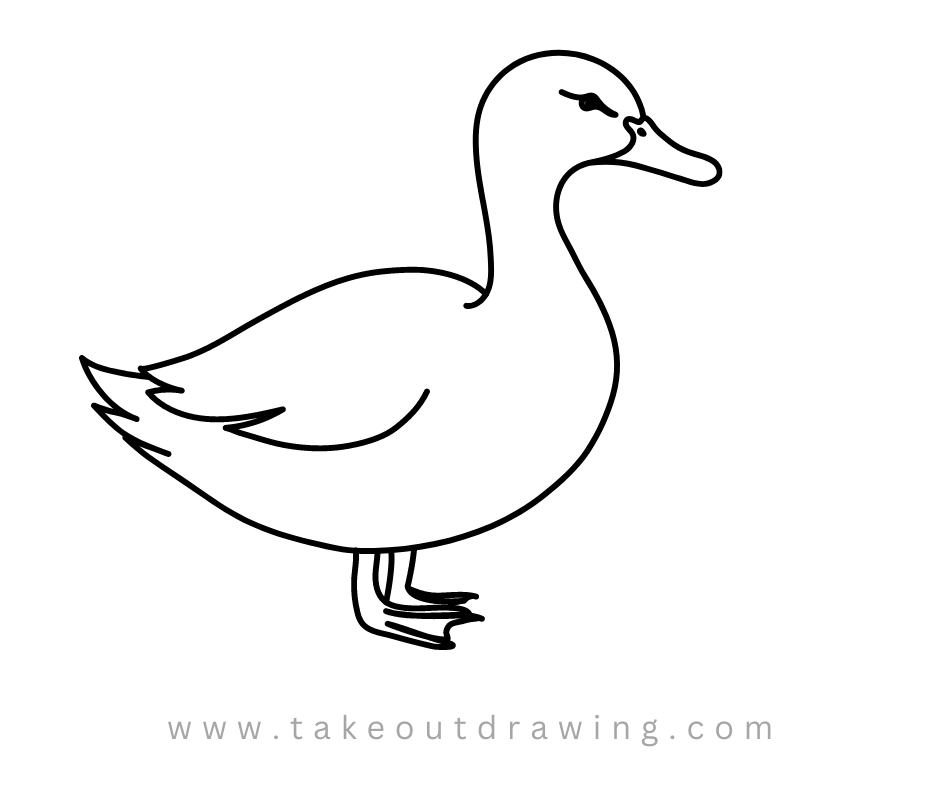


Tips for Drawing a Cute Duck
There are some tips and tricks you can use to add extra cuteness and personality to your duck drawing to make it even cuter. Try applying blush to your duck’s cheeks or drawing a heart on its chest. You can also play around with different colors and textures to give your duck a one-of-a-kind appearance and feel.

How to Make Your Duck Drawing Stand Out
Try adding some background elements to your duck drawing to make it more interesting and dynamic. You could add a pond or a flock of ducks in the distance, as well as flowers or trees, to create a lovely nature scene. By placing your duck in a context, you’ll be able to create a more complete and engaging drawing that will pique the viewer’s interest.
The Benefits of Drawing Ducks
Drawing ducks can be beneficial to your mental health and well-being in addition to being a fun and relaxing activity. Drawing has been shown to improve focus and concentration, as well as memory and cognitive function. So, the next time you’re stressed or overwhelmed, grab a pencil and start drawing some adorable ducks!
Frequently Asked Questions
How to draw donald duck?
To start, draw a large circle for Donald’s head and a smaller circle on the bottom for his body. Then, draw a curved line connecting the two circles for his neck. Add two ovals for his eyes, and a beak shape that extends downward from the bottom of the eyes. Draw a curved line for his brow and two small circles for his cheeks.
Next, draw Donald’s sailor hat by drawing a rectangle shape on top of his head, and then adding a curved line to connect it to the base of the head. Add details like his sailor collar and bow tie, as well as his iconic webbed feet.
Finally, add shading to give Donald some depth and dimension. Shade the area around his eyes and add some texture to his feathers.
How to draw a rubber duck?
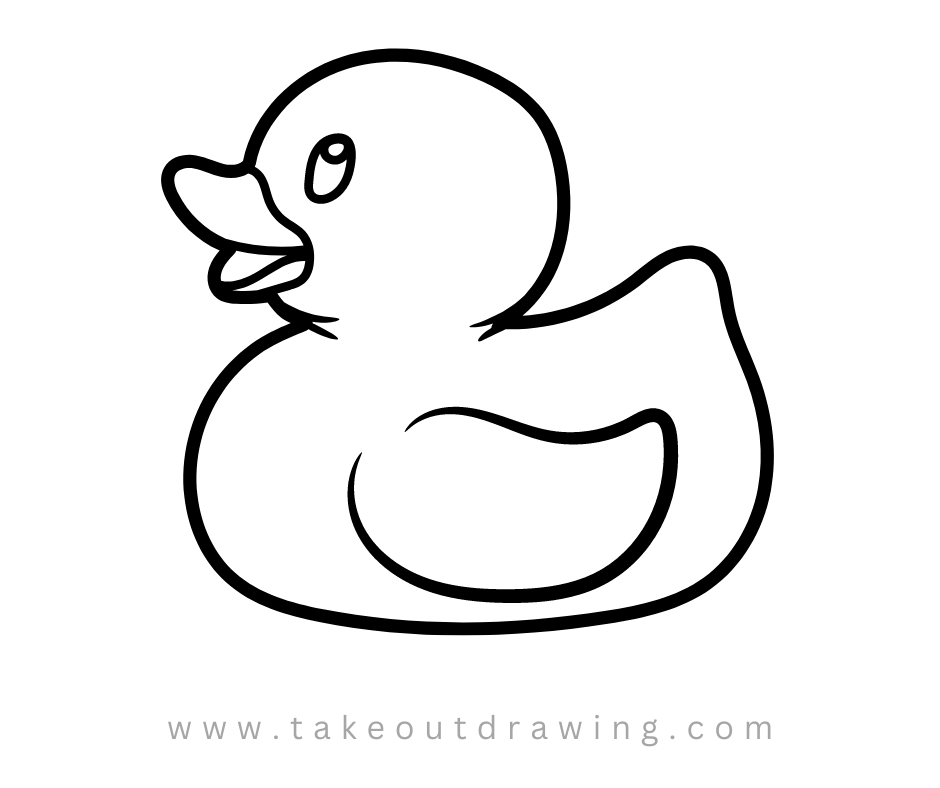
1. Begin by drawing a large oval for the duck’s body and a smaller oval for the head on top.
2. At the front of the head, draw a small beak shape and two small circles for the eyes.
3. Draw a line across the center to separate the top and bottom halves, and some curved lines along the sides to indicate feathers, to add some detail to the body.
4. Draw two small wings on the sides of the body, using simple curved shapes.
Add some texture to the rubber duck by drawing small, curved lines across the body and wings.
5. Finally, color in your rubber duck using bright and cheerful colors. You can also add some water droplets around the duck to make it look like it’s floating in a bathtub!
How to draw a daffy duck?
1. Start by drawing a large oval for Daffy’s body and a smaller oval on top of his head.
2. Draw a long, curved line for his beak, starting at the top of the head and extending down to the bottom of the body. Add a smaller curved line inside the beak for his mouth.
3. Draw two large circles for his eyes, with smaller circles inside them for the pupils. Add some eyebrows and eyelashes for extra detail.
4. Next, draw Daffy’s wings using simple curved lines. Make sure they’re proportional to the rest of his body.
5. Add some detail to his feathers by drawing small, curved lines along the body and wings.
6. Finally, add some color to your drawing using Daffy’s classic black, white, and orange color scheme.
How to draw a paper duck?
Start by drawing a large oval shape for the body of your duck.
Draw a small, rounded triangle shape on top of the body for the head of the duck.
Add a long, thin triangle shape to the bottom of the oval for the duck’s tail.
Draw two small, rounded rectangles on either side of the body for the duck’s wings.
Add two small circles for the eyes, and fill them in with black or dark brown.
Draw a small triangle shape for the beak, and add a small line below it for the mouth.
Finally, add some detail to your duck by drawing some feather lines on the wings and tail.


