Introduction
Have you ever wanted to draw a goat? Is it something you’ve always wanted to learn how to do, but weren’t quite sure where to start?
Don’t worry – we’re going to break drawing goats down step-by-step so it’s easy and simple, even if you’re an absolute beginner! Check out the following steps and watch your imagination come alive as you learn how to draw a goat!

Method : 1
Drawing Basics
Drawing is all about the basics, and goats are no exception. If you want to draw a goat, start with shapes like circles, ovals, rectangles and triangles.

For example, use an oval as the head of your goat. Once you have that down, add on features like eyes, nose and mouth. You can even add on horns and hooves if you want! Just remember that practice makes perfect.
Drawing Head
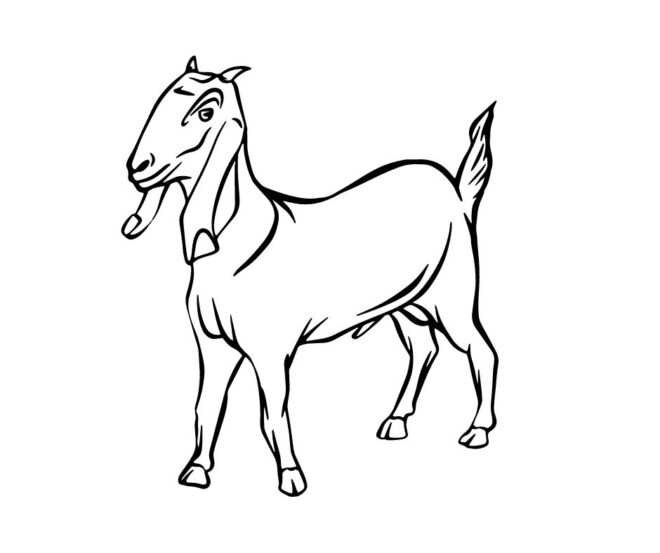
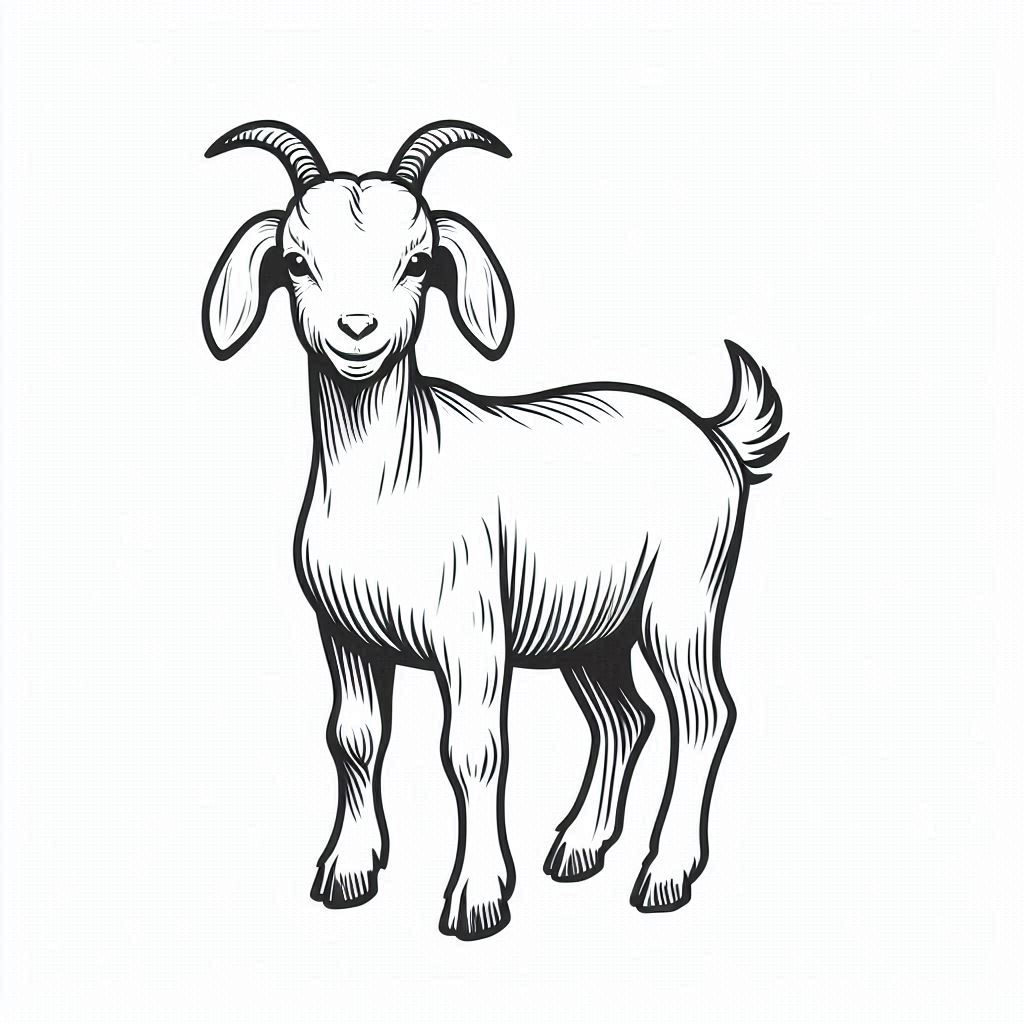
Drawing the head for a goat is actually quite easy. The size of the head will depend on how big you want the goat to be. Draw it as a circle, and then make two lines coming from the top of the circle for ears. The ears should be drawn as two small triangles with their bases touching. Then draw two small circles for the eyes and one large circle for the nose.
Next, draw an upside-down triangle shape for the mouth. The neck of the goat will look like two parallel lines that are close together. Lastly, add some curved lines on the right side of the face to finish up drawing the head of your goat. If you want your goat to look like a male animal then add an extra dot near its neck area as well as a beard under its chin.
Drawing Body
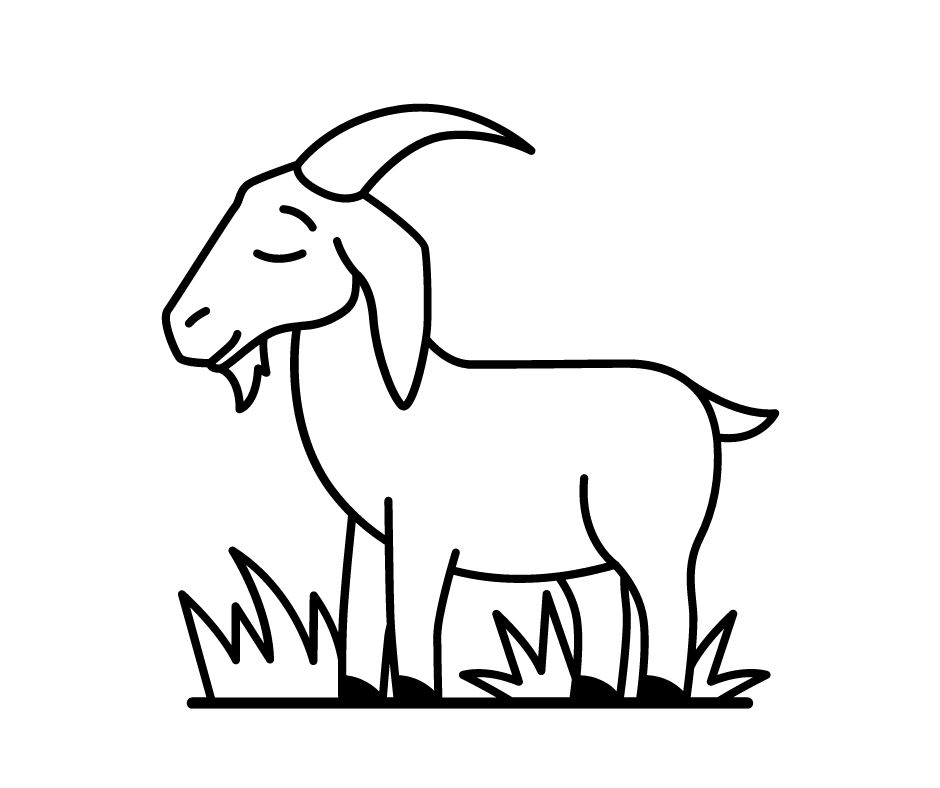
Draw out its body in this case it is just a simple rectangle shape. At this point add some curved lines for fur. Then put in the legs, each made up of three small rectangles.
Add some hooves by drawing two circles for toes at the end of each leg. Then give your goat curly horns (like spiral noodles).
Note
Take your time and do the steps in order. If you make a mistake, just erase it and try again! You’ll get better with practice.
Remember not to rush when drawing. The more care you take at this stage, the easier it will be for you.
Also Read: Bear Drawing: How To Draw Bear Step By Step Guide
Method : 2
Building a Strong Foundation: Mastering Basic Shapes
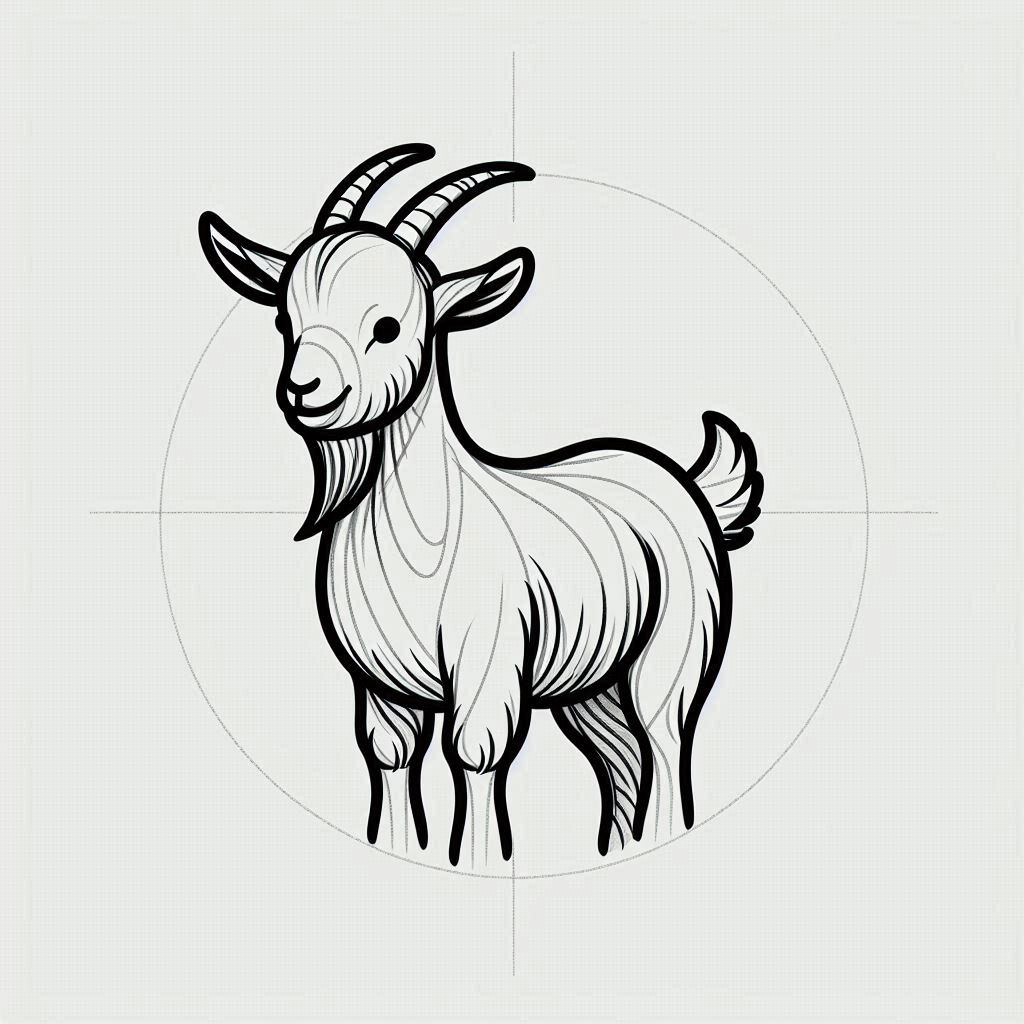
Just like building a sturdy house requires a solid foundation, drawing fantastic creatures like goats relies on a grasp of fundamental shapes. Circles, ovals, rectangles, and triangles are your building blocks. Imagine the goat’s head as an oval – this will form the base for adding facial features later.
Remember, practice is key! Don’t be afraid to experiment and have fun with these shapes – they’ll be the stepping stones to your masterpiece.
Giving Life to the Head: Eyes, Ears, and Everything in Between
Now comes the exciting part – creating the goat’s head! The size of the head will determine the overall size of your goat. Start with a circle, and then draw two lines extending upwards from the top of the circle. These lines will represent the ears.
Imagine floppy ears like those of a Basset Hound, and depict them using two small triangles that meet at the base. Here comes the fun part – adding details! Use two small circles for the eyes, brimming with curiosity. A large circle below the eyes will become the goat’s nose. Finally, draw an inverted triangle for the mouth, hinting at a playful smile.
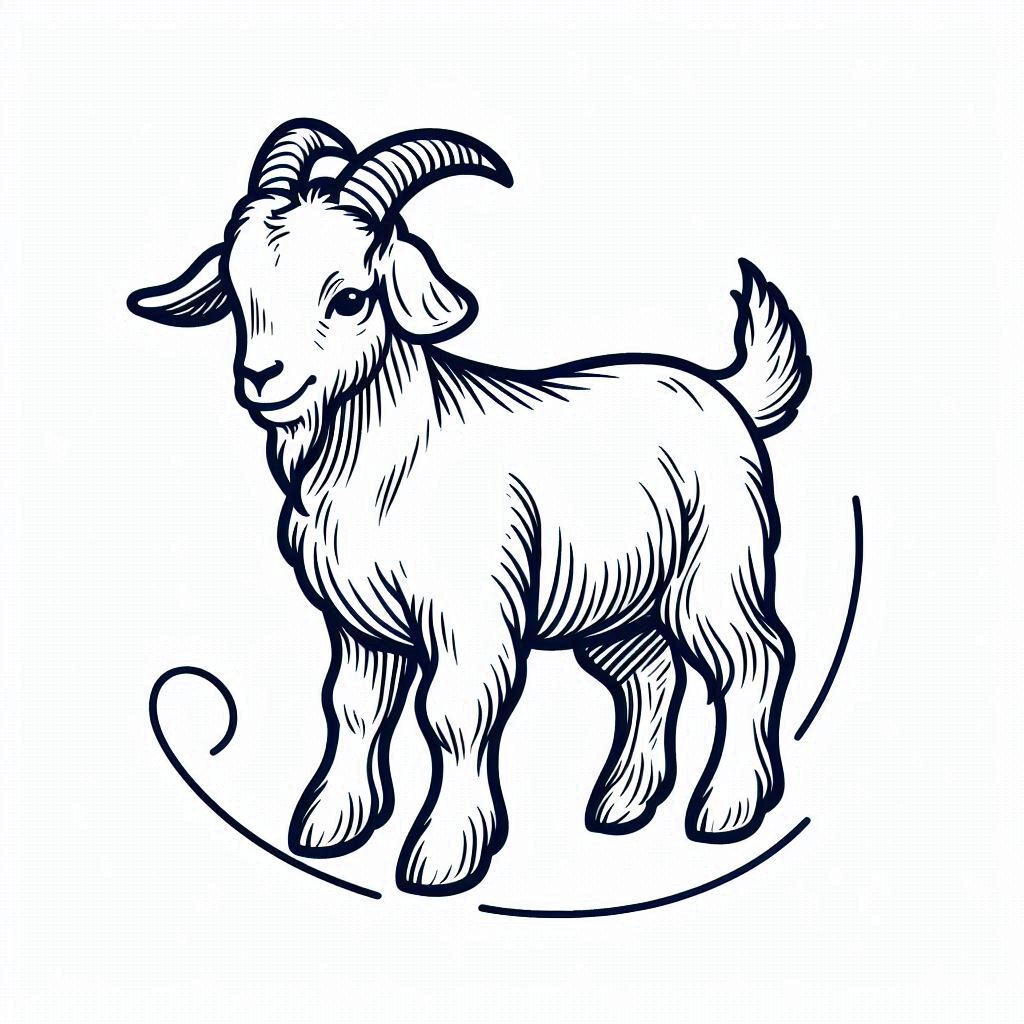
The neck is a breeze – simply draw two parallel lines close together, connecting the head to the body. To personalize your goat, consider adding a small dot near the neck for a male goat, along with a wispy beard beneath its chin for a touch of rugged charm.
Constructing the Body: From Simple Shapes to Furry Details
Let’s move on to the body! Here, a simple rectangle will suffice. Don’t worry about perfect lines – a goat’s body isn’t perfectly symmetrical after all. Now comes the time to add some texture – use short, curved lines along the edges of the rectangle to represent the goat’s soft fur.
Now for the legs – each leg can be constructed using three small rectangles stacked on top of each other. Imagine the sturdy legs of a mountain goat, capable of traversing challenging terrain. Don’t forget the hooves! Draw two small circles at the bottom of each leg, representing the toes.
Adding the Finishing Touches: Horns and That Special Flair
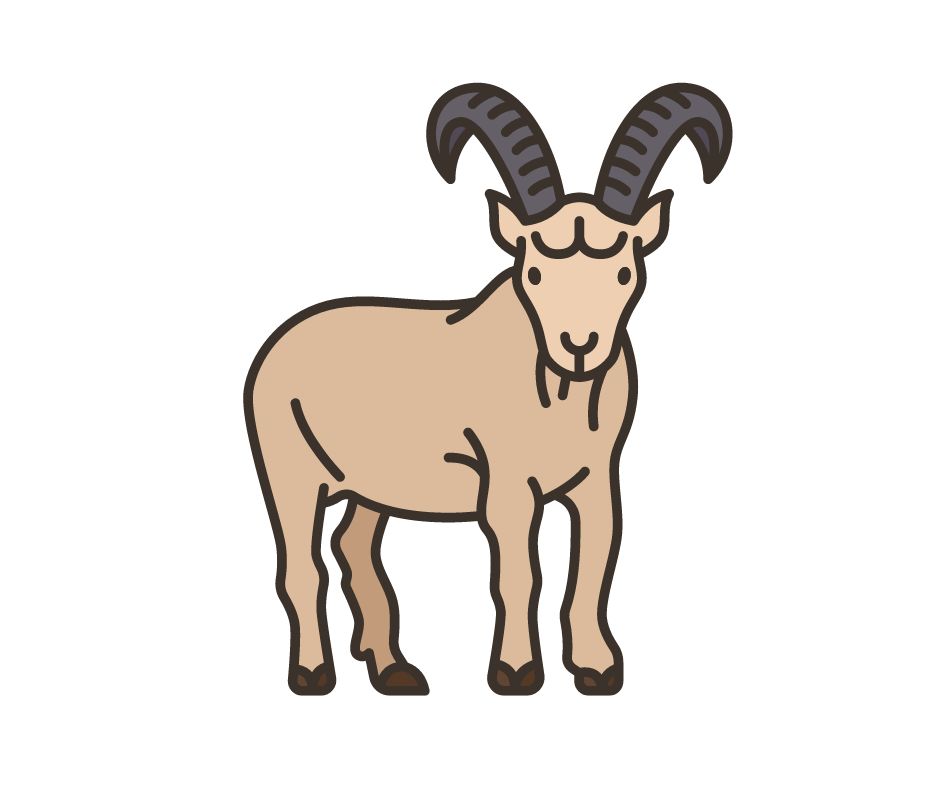
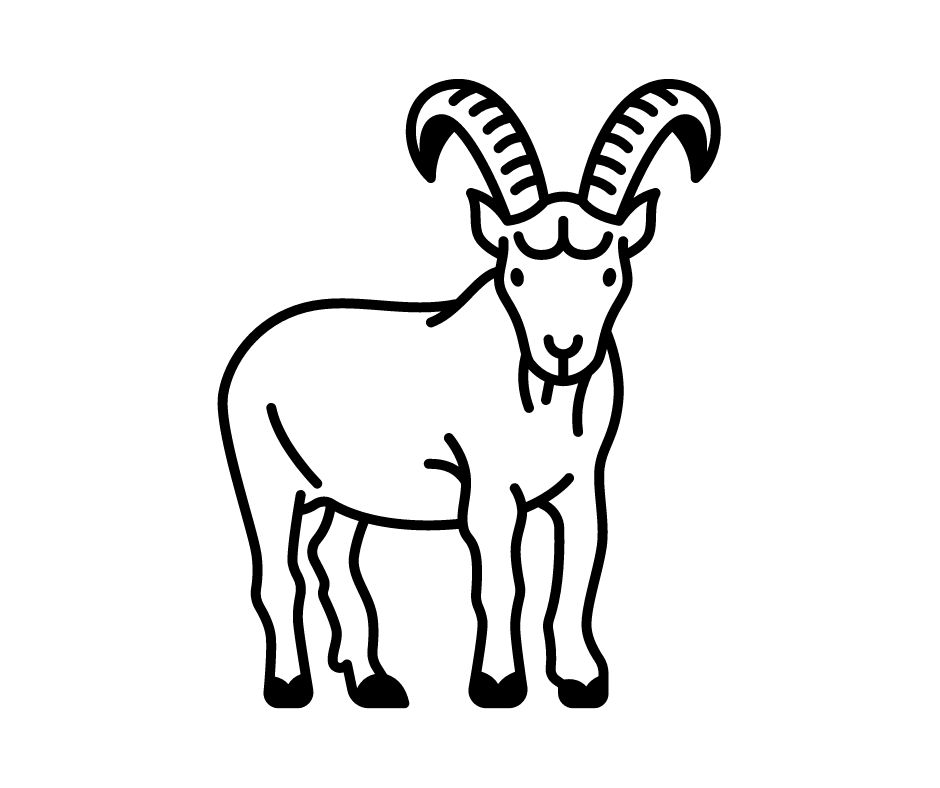
What makes a goat a goat? Horns, of course! You can depict them in various ways – long and majestic, or perhaps short and curly like a corkscrew. Let your imagination run wild!
Here’s a tip for aspiring goat artists: Real goats come in a variety of breeds, each with unique characteristics. Did you know that some goats have no horns at all, while others boast impressive, scimitar-shaped horns? Researching different breeds can inspire you to create a truly one-of-a-kind goat.
Practice Makes Perfect: Refining Your Skills
Remember, the key to becoming a confident artist is to keep practicing! Don’t be discouraged if your first attempt isn’t exactly like the picture in your mind. With each attempt, you’ll refine your skills and gain a better understanding of shapes, proportions, and shading.
Here are some additional tips to elevate your goat-drawing game:
- Use light pencil strokes: This allows you to erase easily and make adjustments as you go.
- Shade for depth: Use a blending tool (like a cotton swab) to gently smudge your pencil strokes, creating a sense of depth and dimension.
- Experiment with color: Once you’re comfortable with the basic form, unleash your creativity with colorful pencils, markers, or even paints!
There you have it – a comprehensive guide to drawing an adorable goat! With a little practice and these helpful steps, you’ll be drawing a whole herd of these charming creatures in no time. So grab your pencils, unleash your inner artist, and get ready to be amazed by your own artistic talent!
Also Read: Easy Frog Drawing- Cute Frog Drawing Outline