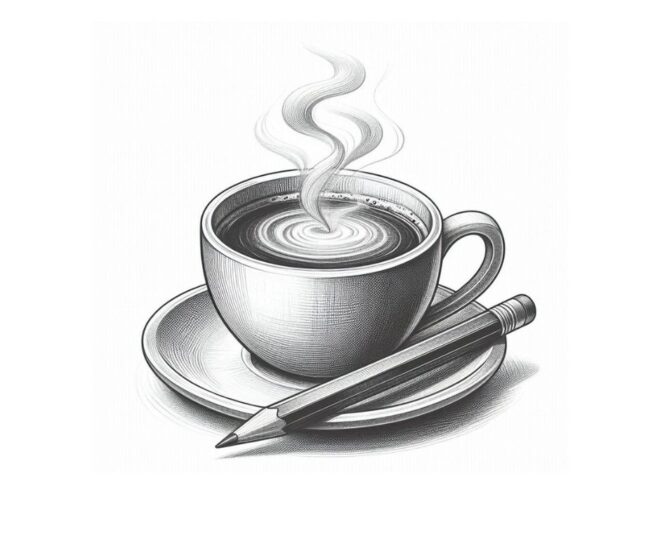
Coffee cups, while small, can be quite tricky to draw if you’re not used to it. But with the right proportions and step-by-step approach, you can achieve a beautiful-looking coffee cup in no time at all! Let’s get started!
Start with Circle and Oval
This will be the base of your coffee cup. Keep in mind that the diameter of the circle is determined by how big you want your cup to be. You can also use this shape for other types of cups such as wine glasses and water glasses.
Make an oval shape above the circle. The horizontal part of this oval should be about one-third up from the bottom of your circle, with the vertical part at about two-thirds down from the top. For example, if your circle is three inches across, then the top third would be two inches high.
Create the Handle
Start with a curved line that connects the upper and lower thirds on either side . Next, outline both ovals using a thin stroke so it looks more like a drawing than just lines on paper. line Use thicker strokes on any curves so they stand out more.
Add detail like indentations on either side for grip or for fingers. Add two small circles at either end for where you place your fingers.

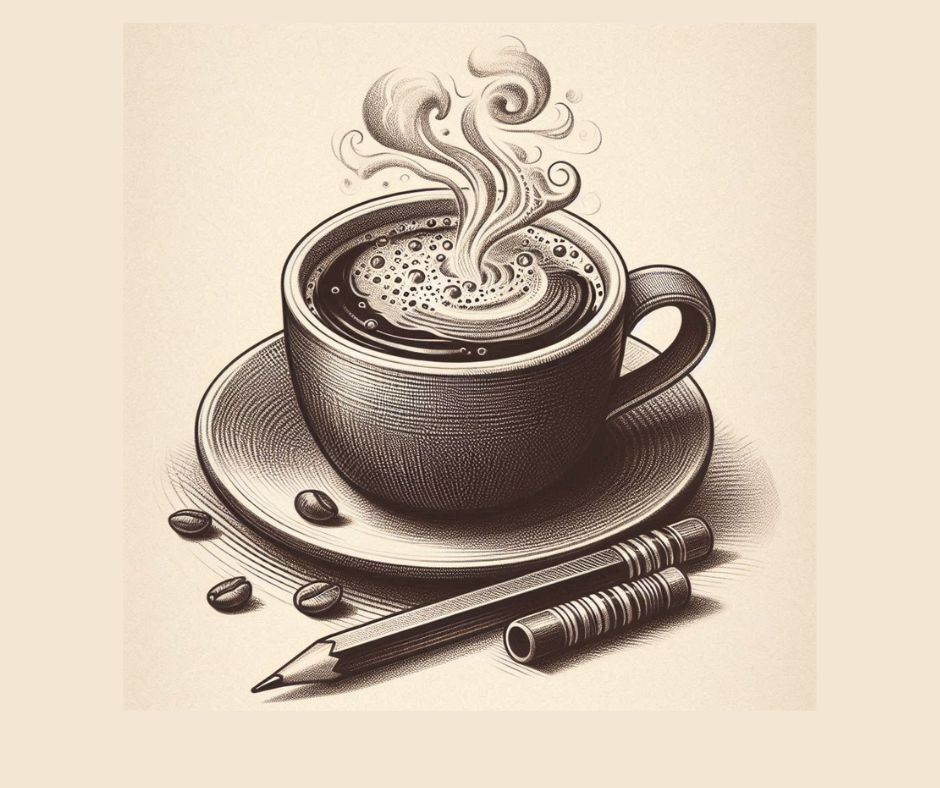
Draw in Some Steam
On top of the cup, draw a wavy line that’s mostly vertical, but also goes down a little bit to show some hot steam coming from the drink.
Add Some Detail
Add in any details you like, like a handle or steam coming from the top. You can also use this opportunity to add text if you want! Keep practicing and soon enough you’ll be able to sketch it out without even thinking about it.

Fill in the Lines
Fill in all of the spaces with shading or lines so that it looks like a coffee cup. Use different widths and lengths depending on what feels right to you.
When finished, take a blender tool (or paintbrush) and run it over your drawing to blend out some of the lines while still keeping them intact.
Remember: Practice makes perfect

Important Things to Consider
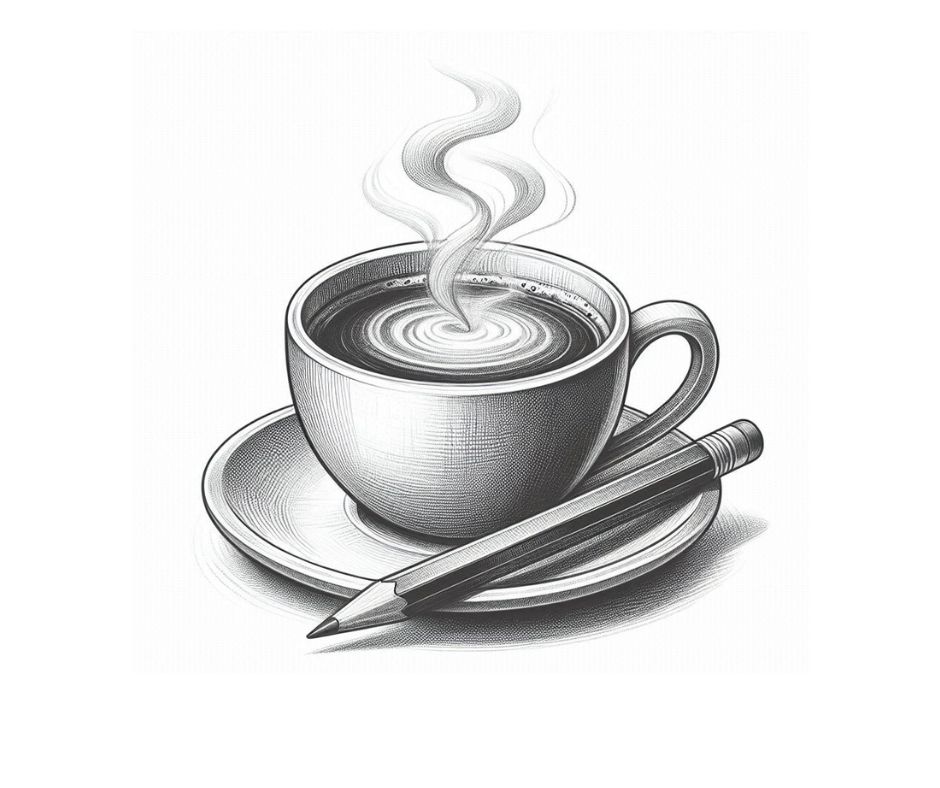
Coffee cup pencil drawing is a fascinating art form that allows artists to capture the beauty and intricacy of coffee cups on paper· Whether you are an experienced artist or just starting out, there are several important things to consider to create a remarkable coffee cup pencil drawing· In this article, we will explore these crucial factors and provide useful tips to enhance your drawing skills·
Selecting the Right Reference Image
To create a stunning coffee cup pencil drawing, choosing the right reference image is paramount· Look for images that showcase different perspectives, lighting conditions, and textures· This will enable you to create depth and realism in your drawing· Additionally, consider the level of complexity the image offers, as it will challenge your skills and help you grow as an artist·
Analyzing the Form and Shape
Before diving into the drawing process, take a moment to analyze the form and shape of the coffee cup· Pay attention to its proportions, contours, and overall structure· Understanding these elements will guide you in accurately capturing the essence of the cup on paper·
Composition and Placement
The composition and placement of the coffee cup on your drawing surface can greatly impact the overall visual appeal of your artwork· Experiment with different placements and consider the rule of thirds to create a balanced and visually pleasing composition· This technique involves dividing your drawing surface into thirds both vertically and horizontally and placing the main elements along these lines·
Choosing the Right Drawing Paper
The choice of drawing paper plays a significant role in the outcome of your coffee cup pencil drawing· Opt for a smooth surface paper, such as Bristol board or drawing paper specially designed for graphite pencils· A smooth surface allows you to achieve fine details and textures without any interference from the paper’s texture·
Utilizing the Right Pencils and Techniques
When it comes to pencil selection, high-quality graphite pencils ranging from 2H to 6B should be your go-to choice· This variety of pencils will provide you with the necessary range of tones, from light to dark, to create realistic shading· Experiment with different pencil strokes, such as hatching, cross-hatching, and blending, to add depth and dimension to your coffee cup drawing·
Paying Attention to Light and Shadows
Light and shadows play a pivotal role in creating depth and realism in your coffee cup pencil drawing· Observe the light source in your reference image and determine the areas of highlight, mid-tone, and shadow· Gradually build up the layers of graphite to accurately depict these tonal values, adding a sense of depth and three-dimensionality to your artwork·
Adding Texture and Details
Coffee cups often exhibit interesting textures and details, such as reflections, scratches, and textures of the cup’s material· Use various shading techniques to mimic these textures and pay attention to the intricate details that make each coffee cup unique· This attention to detail will elevate your drawing and make it truly captivating·
Practice, Patience, and Perseverance
As with any art form, practice is key to improving your coffee cup pencil drawing skills· Dedicate regular time to practice and experiment with different techniques· Patience is also crucial, as drawing intricate details and achieving realistic shading requires time and precision· Lastly, persevere through any challenges or setbacks you may encounter, as each drawing will contribute to your growth as an artist·
In conclusion, creating a remarkable coffee cup pencil drawing requires careful consideration of various factors· From selecting the right reference image to mastering shading techniques and paying attention to details, each step contributes to the overall success of your artwork· With practice, patience, and perseverance, you can develop your skills and create stunning coffee cup pencil drawings that truly captivate viewers·